
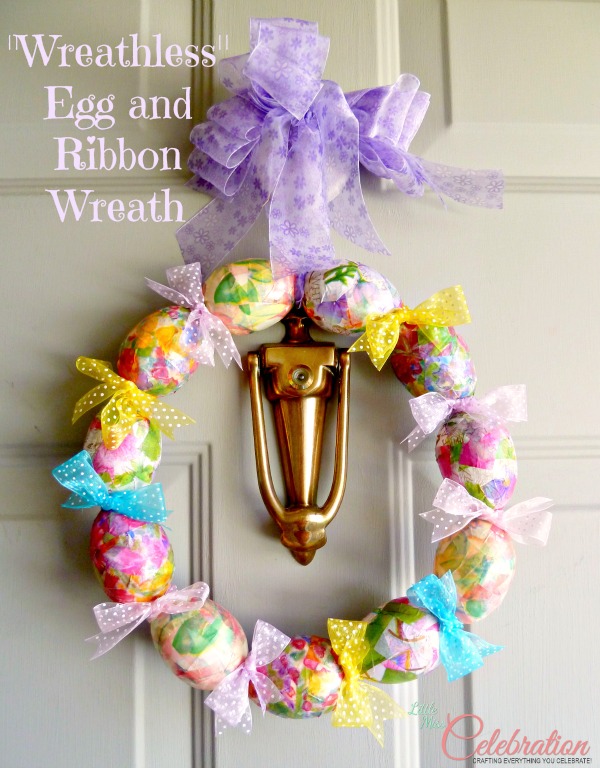
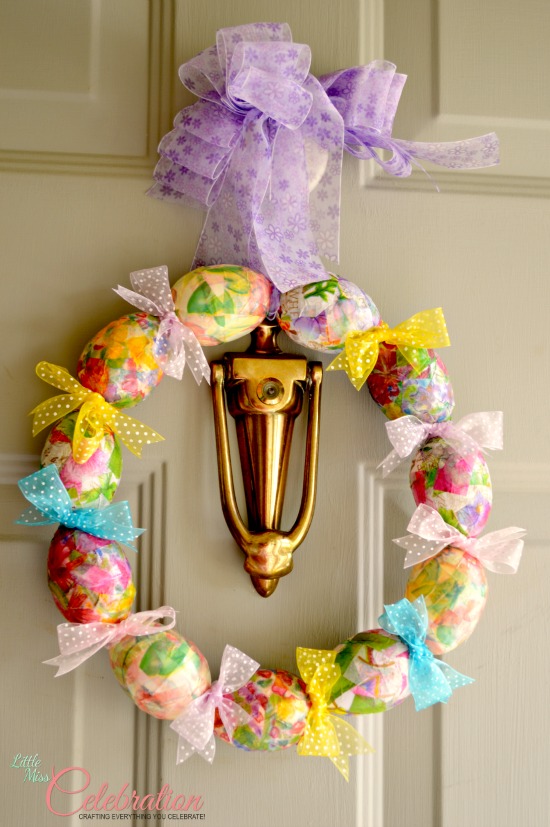
 A small wreath of plastic eggs and sheer ribbon can bring a pretty, Spring splash anywhere you need a little holiday touch or it can make a sweet gift. Color can come from the plastic eggs – there is such a variety of colors and styles available! Choose pastels, brights, glitter or customize your own “eggcellent” style with tissue paper and Mod Podge. It’s fast and easy to put this together and it doesn’t attach to any kind of wreath form at all – the eggs are glued to each other.
I did use a straw wreath, wrapped in plastic, as a guide to form the eggs into a circle. Ok, it’s not a perfect circle, but it is a LOT more circular than if I had attempted to make a circle without any guide!
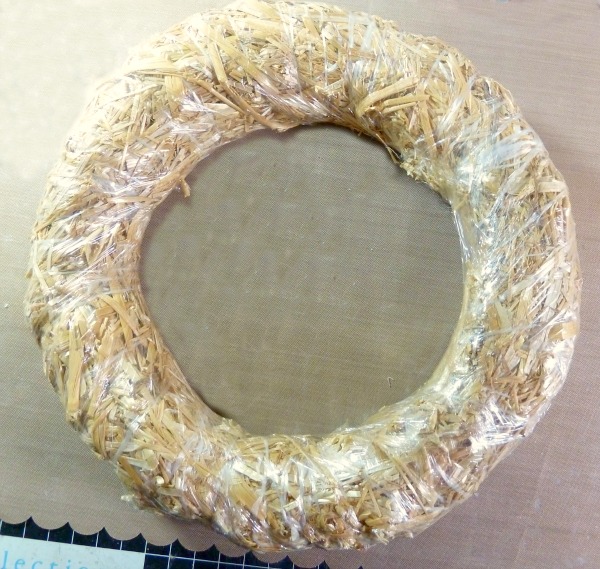
For this wreath, I used:
- 11 standard plastic Easter eggs – My eggs were Mod Podged with a variety of pretty tissue paper.
NOTE: You can make this wreath as large as you like! Just determine the correct number of plastic eggs you will need to complete the circle shape. I needed just a small wreath.
- A wreath or circle to use as a guide
- Low-melt hot glue gun and gun
- Ribbon of your choice in colors to match or complement your eggs (3-4 different colors)
This could not be any easier! Using your wreath or circle guide and imaging a clock, start at 6 with one egg and work clockwise. Take a second egg, hot glue the bottom of this egg to the top of the first egg. Continue hot gluing eggs, taking care to attach each new egg at a point on the previous egg to follow the “circle” as closely as possible.
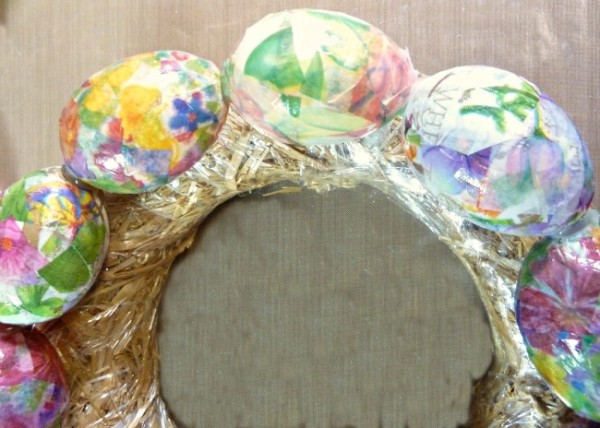
As you add an egg, hold it in place until the glue is set. Great thing about hot glue is that it sets so quickly! When you add the final egg to the circle, you’ll be gluing it at the top and bottom of the egg. Glue the egg bottom first, let set and glue the top to complete the circle.
When you are finished, the circle of eggs will look like this.
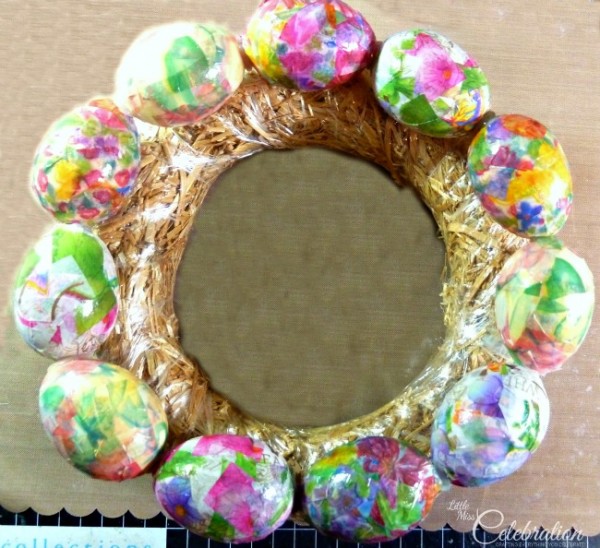
I know – a definite downside of using hot glue is those all too visible and not-so-pretty globs of glue, right? We’re going to fix that quick as a bunny!
First, I decided where I wanted the “top” of the wreath to be…definitely however it looked most like a circle! I used this pretty, sheer dotted ribbon in shades of yellow, pink, blue and lavender.
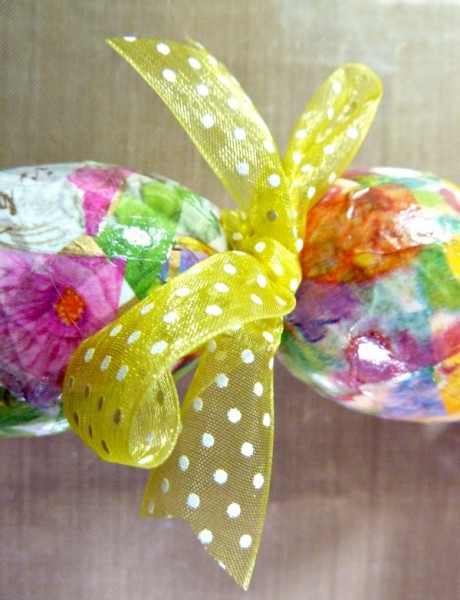
Alternating colors, I tied lengths of ribbon between each glued egg and made a little bow. If you want to hang the wreath, tie a wider ribbon around the two eggs at the top of the wreath and attach to a bow for hanging.
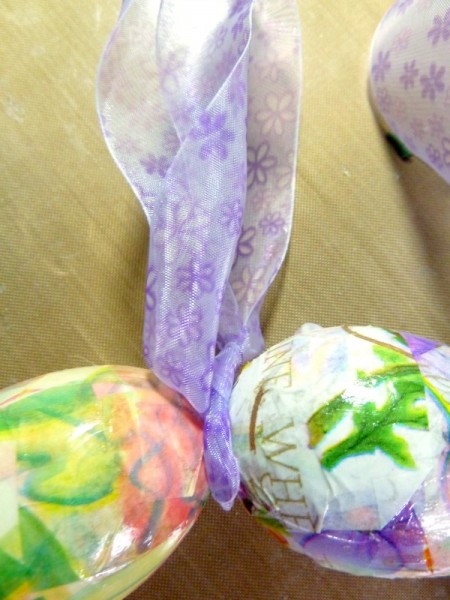
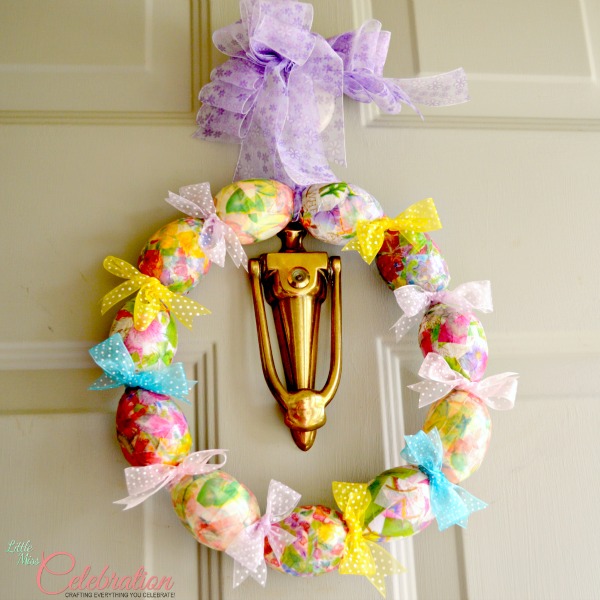
I like all of the Spring colors in this little wreath and plan to add it to my mantel. Do you decorate your mantel or other places in your home specifically for Spring and/or Easter?
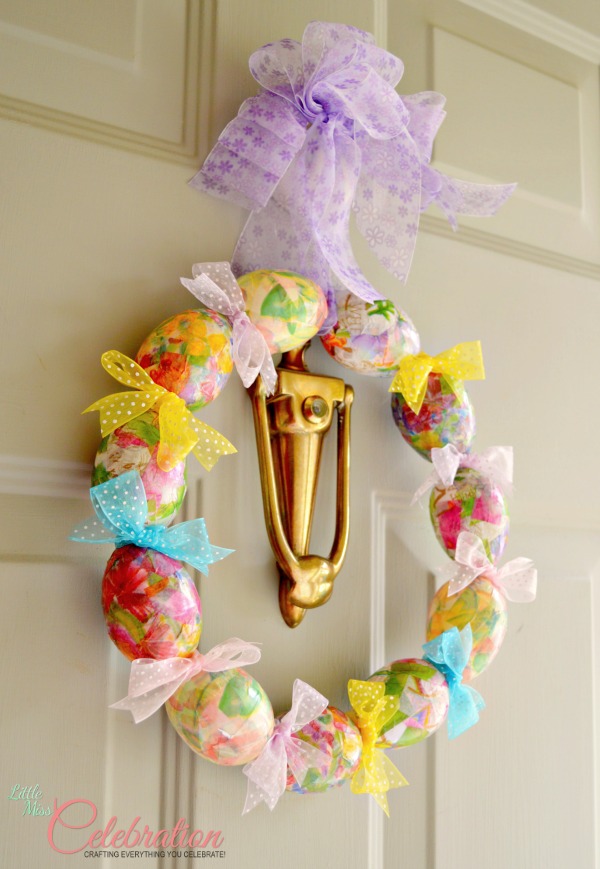
Have a good Monday and hope your week is off to a happy start!
You can now follow my blog on Bloglovin!

Linking up at these parties!









That is absolutely the prettiest Easter Wreath I’ve ever seen! Awesome job!
That is so sweet, Danni, thank you!!!!
Love it!! And it looks so easy.
Hi Kelly! Thank you and it is easy!! Hope all is going well and miss you!
Oh my gosh, so much easter goodness here! Nicely done!
Trish
http://www.jellybonesblog.blogspot.com
Trish, thank you so much for your visit and kind words! Have a great week!
This is really cute! I like how it turned out.
I’m a new follower on bloglovin, stopping by from Meet & Greet (thanks for joining us!).
~Kim
http://www.2justByou.com
Hi Kim! Thank you so much for visiting and for the follow! Thank you for the Meet & Greet, so much fun and I love meeting so many wonderful people! Have a wonderful week!
Cindy this is just so clever! Great idea using the wreath as a guide! I just love this, it’s so festive and pretty! Happy Monday! ?
Hi Emma, thank you so much for your visit and sweet comment! I’m glad you like it! Hope you had a good day and the rest of your week is happy! ?
SOOOO cute, cindy! I really need to try this Hodge Podge (lol) so I can finally get my real “Crafters License” haha
I love it – pinning! ?
Claire
Claire, you are too funny! That so made me laugh out loud! I think you have your Crafter’s License girlfriend! Thanks for the visit, comment and pin and best of all, the smile!
This is super cute, Cindy! I have pinned to my “For the Home” board. Thanks so much for stopping by and sharing this at Marvelous Mondays!
Thanks, Julie! I just needed to add a little snow to them today…still wishing for your warm weather! Have a great week!
Great wreath! Pinning this to remember next year!
Thanks, Melissa! Have a great week!
What a great idea! This has to be one of the nicest Easter wreaths I’ve seen. I would love for you to come by and share this on Fluster Creative Muster Party. It starts tomorrow at 6pm EST. Hope to see you there!
Hugs, Smiles and Blessings,
Robin
Hi Robin, thank you SO much for visiting and for your sweet comment. I would love to join the party and I’ll be there! Thanks for the invitation and have a wonderful day!
Cindy, this is so pretty! Thanks so much for sharing at Project Inspire{d} ~ pinning to the party board.
Hugs,
Mary Beth
Thanks, Mary Beth! I love the party and thanks for hosting it every week. I appreciate the pin to the party board! Hugs!
This is super cute! I always have good intentions to decorate for each holiday, but it comes and goes and is forgotten. My boys are teens and balk at getting the Christmas decorations out of the attic once per year. I love seeing what everyone else does though!
Thanks, Sandy, that’s so kind of you! I know what you mean, it is a challenge to juggle it all. My husband (so NOT a teen!) balks at the Christmas decorations out of the attic. I love seeing what every does too, it’s so much fun. Hope you are having a good week and that furniture makeover of yours was off the charts!
Very cute wreath!
Thanks, Jeni! Ok, your blog name is pretty awesome, so I have to visit! ?
claudia says
Hi thanks for stopping by and linkin with the ladies! am following back ?
your diy is beautiful! i love it
http://www.prettylittledahlia.com
Hi Claudia, thank you so much for visiting and for your sweet comment. The party was fun! I love getting to meet so many wonderful people and all the amazing inspiration. So glad to connect with you!
I love this Cindy! Hope you drop by & link it up tomorrow!! xo
Hi Theresa, thank you so much and I love your party and will definitely stop by! Have a happy Friday!
Your wreath is lovely, Cindy! The ribbon is adorably cute ? Thank you for sharing at ALL MY BLOGGY FRIENDS Link Party ! Hope to see some more awesome links next week !
Thank you, Linda!! It was my pleasure to join in the fun and look forward to doing it again! Have a wonderful Easter.