
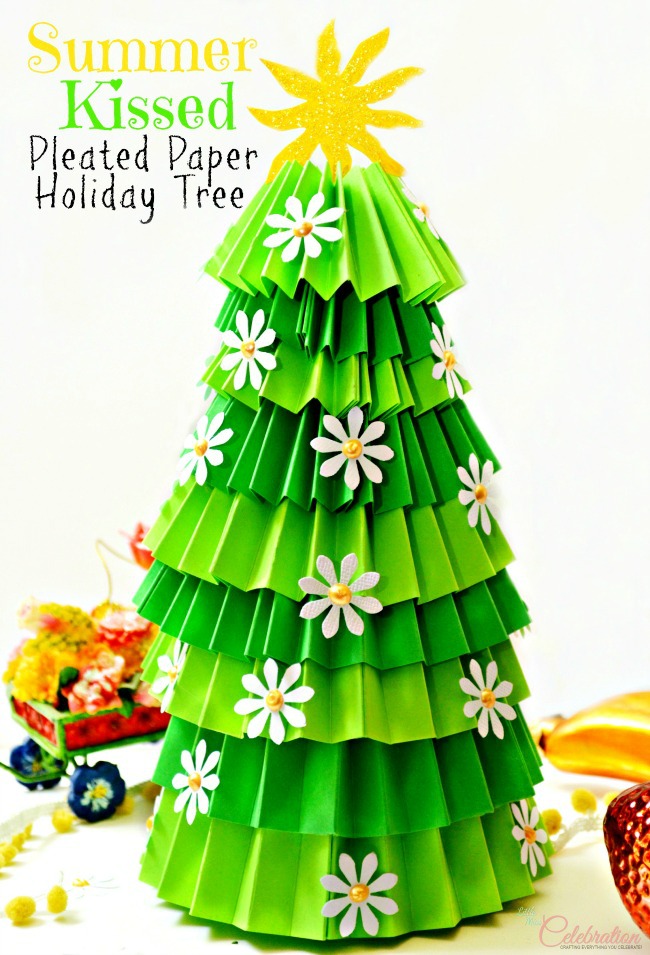
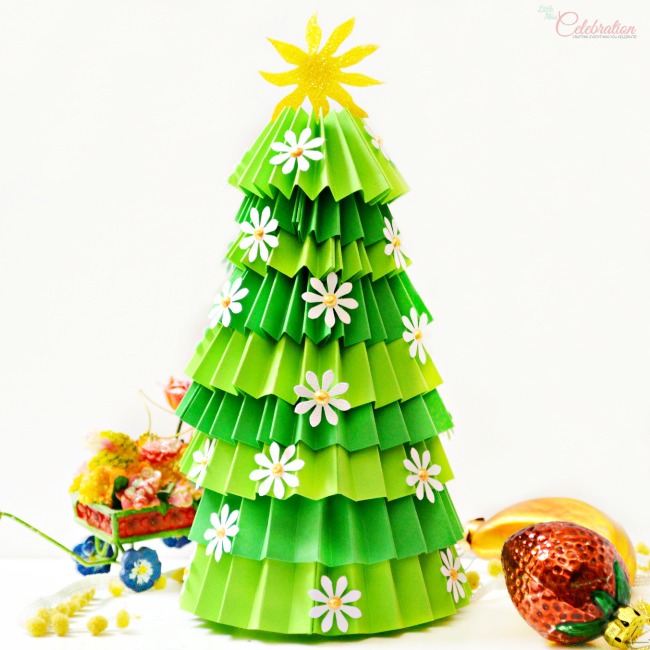
 Happy Monday and welcome to our Christmas in July week! Are you ready to celebrate some holiday spirit – with a seasonal twist? This year, I’m taking inspiration from stories I created for my children about summers at the North Pole. Even Santa, the Mrs. and the elves need a week of warmth and sunshine to recharge for the Christmas season! Let’s mix a bit of summer into the holiday season with a summer kissed pleated paper holiday tree, trimmed with daisies and a sunshine star– it’s Christmas, summer stylin’!
I loved – and still love – creating fun and fantastical stories for children. In between the hundreds of books I read to my children when they were little, I made up tons of stories. Even years before I became a Mom, as the oldest of my cousins, I used to entertain them with made-up stories. I even wrote little plays for all of the holidays in elementary school, and with my merry band of buddies in tow, we were allowed to go from class to class to share a little holiday joy. Yep, you can safely say I was never shy and the roots of my holiday spirit run pretty deep!
To create our summer kissed tree, I used my Martha Stewart Scoring Board to score the pleat lines, just like the patriotic door rosette I recently made. If you don’t have scoring board, you can use a metal ruler and paper embossing stylus. It takes just a few simple supplies to create this summertime holiday tree.
- 8” Styrofoam cone
- 12” x 12” cardstock in green and lime (Mine is from Michael’s)
- 1 sheet of white & yellow cardstock
- Small daisy paper punch – mine is by Marvy Urchida
- Liquid Pearls in Buttercup, by Ranger
- Stickles Glitter Glue in Yellow (optional)
- Craft glue, scissors and straight pins
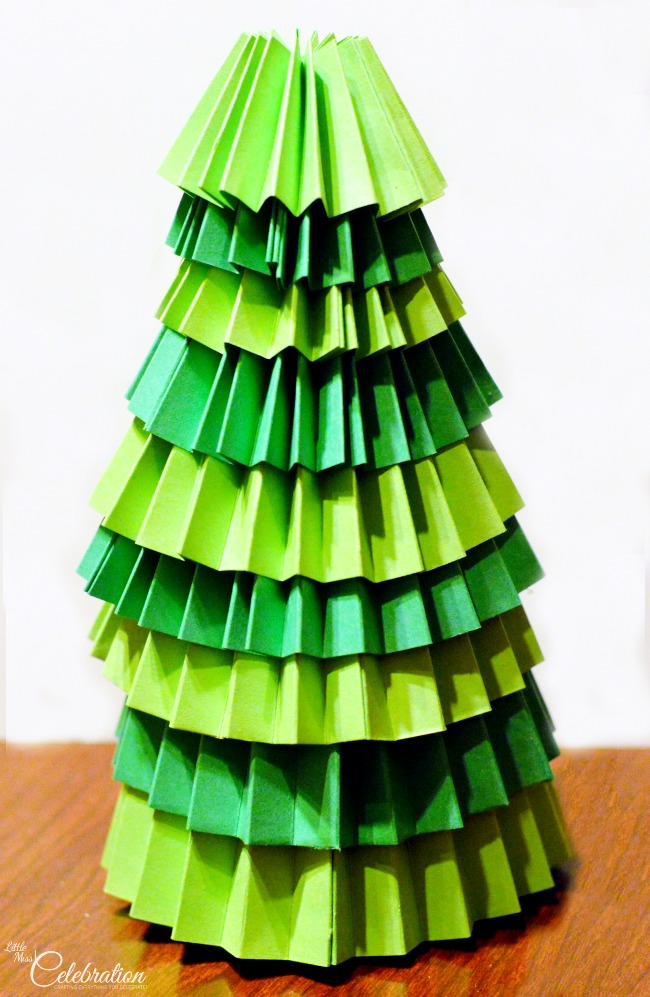
The tree is made of eight layers of pleated paper rings, attached to the foam cone with straight pins. It’s kind of like making rosettes. Each pleated “ring” is created by gluing together two pleated lengths of paper to form a ring. All of the paper lengths are 12”, except for the top ring, which is 11”. Here are the sizes to cut for each layer:
First (bottom) layer: 3 ½” wide x 12” long
2nd layer: 3” wide x 12” long
3rd layer: 2 ¾” wide x 12” long
4th layer: 2 ½” wide x 12” long
5th layer: 2 ¼” wide x 12” long
6th layer: 2” wide x 12” long
7th layer: 1 ½” wide x 12” long
8th (top) layer: 1 ¼” wide x 11” long
Score all the paper, fold and glue into rings. Maybe I’m in summer holiday haze, but I find this relaxing! It’s great to do while watching Christmas Keepsake week on Hallmark – ok, or any other show on TV. ? Let the kids help fold!
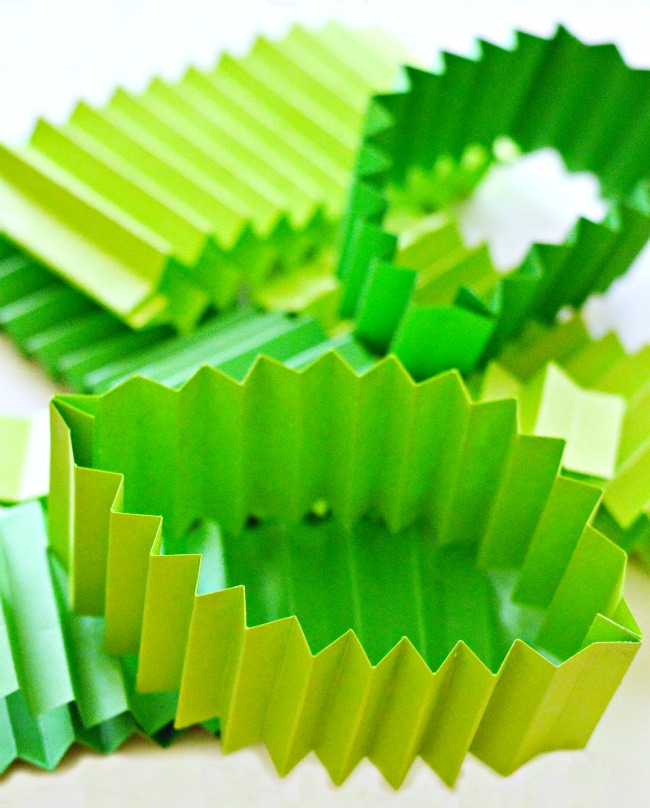
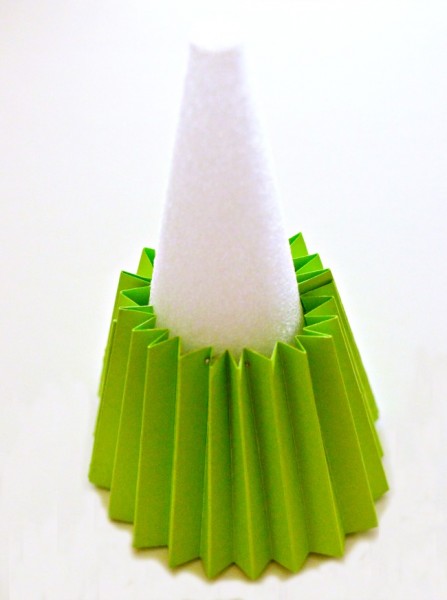
Gather the first 3” wide ring around the Styrofoam cone so that covers the bottom. Attach the pleated paper to the cone with straight pins, placing the pins within the pleat folds. Use as many pins as you need for the ring to be secure.
Continue adding the rows of pleated paper, letting as much of the previous row peak out as you like. The top row will extend above the Styrofoam cone; use just a few straight pins at the bottom and add some glue to the center top. It’s ok that there’s a hole in the top – that’s for the sun to shine!
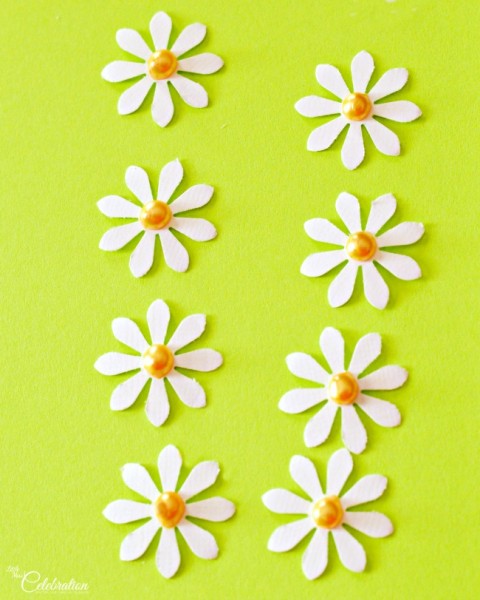
Punch out daisies from white cardstock; I made 32 daisies. Make the daisy center with Liquid Pearls; it gives a pretty, pearly dimensional center. Let dry.
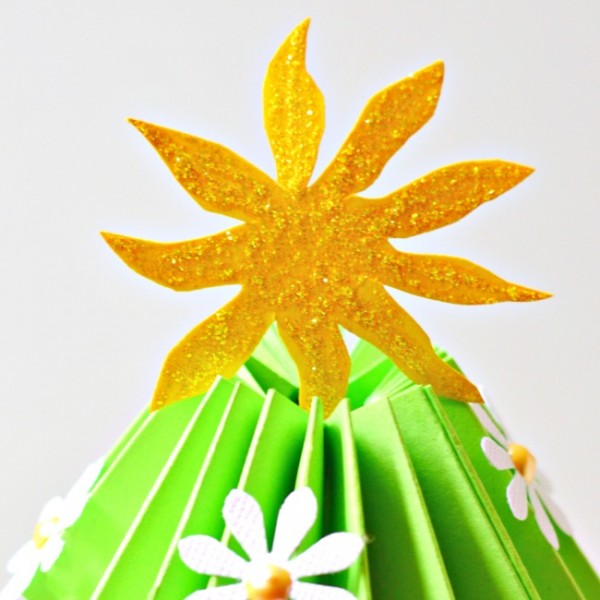
Draw a freehand sun with swirly rays from yellow cardstock. Add some sparkle, if you’d like, with yellow Stickles and let dry. Trim your summer holiday tree by attaching the paper daisies with craft glue. Top it off with summer sunshine! Add a bit of glue to one of the sun’s rays, insert the ray into the hole at the top of tree and let dry.
Isn’t this so pretty? I just love this summer kissed holiday tree on my hall table. You could create an entire forest of summer holiday trees with all kinds of flowers and seasonal trims. Let your Christmas in July spirit run wild!
Speaking of Christmas in July, you cannot miss the awesome giveaway going on! Don’t miss your chance to grab some early holiday shopping bucks in our $500 Cash Christmas in July Giveaway. Contest ends on July 14th!
On Wednesday, I’m taking a popular recipe from last holiday season and giving it a Christmas in July touch. I hope you’ll stop back to share the summer holiday joy and thanks for visiting today!
Sharing at these parties!
Monday Funday at Uncommon Designs Made by You Monday at Skip to my Lou Project Inspire{d} at Cupcakes & Crinoline Treasure Box Tuesday at Yesterfood Do Tell Tuesday at Vintage Zest Whimsy Wednesdays at The NY Melrose Family Lovely Ladies Linky at This Silly Girl’s Life Cast Party Wednesday at Lady Behind the Curtain Moonlight & Mason Jars at Five Heart Home Thursday Favorite Things at Katherine’s Corner Showcase Your Talent Thursday at It Bakes Me Happy Best DIY Projects & Recipes Party at The 36th Avenue Freedom Fridays with All My Bloggy Friends at Love Bakes Good Cakes The Weekend re-Treat Party at The Best Blog Recipes Pretty Pintastic Party at An Alli Event Creativity Unleashed Party at shaken together Link Party Palooza at i heart nap time Say G’Day Saturday at Natasha in Oz Serenity Saturday at Serenity You Show Stopper Saturday at Simply Gloria Show-Licious Craft & Recipe Party at 3 Little Greenwoods diy Sunday Showcase at PinkWhen Bewitch Me & Titi at Titi Crafty




Hi Cindy! I have a confession to make. I didn’t read your entire post :(. I’m running out in a minute and don’t have time, but I was thinking about you and just wanted to say ‘hi’!
I WILL say that like everything you do, it looks adorable!! We almost always have a Christmas in July party, and it think we are going to one in two weeks.
I hope you’re having a good summer so far!?
xxx
oh SUPER cute Cindy! you are just so crafty clever :>D!!!
So fun, Cindy! I love the Summer touch – the daisies are adorable!
So fun, Cindy!! I love the Summer take on your tree! Your cousins were so lucky to have someone tell them fun stories!!
Where in the dickens do you find the time to do all you do? Your tree is absolutely adorable and so cheerful. Love colors you used, the sun and daisies are perfect, bet your tree does look fantastic on your entry table, great tutorial. Happy summer days
So fun Cindy! Great idea to put a summer touch on it – pinned and sharing!!
This is so colorful and summery ~ you put a smile on my face! Thanks for sharing at PI ~ pinned!
This is so cute!
This is so sweet, Cindy! My kids love made up stories but I am not very good at them….I need to learn from you!!
You’ve done it again , Cindy! You are always coming up with the cutest, craftiest creations. And I can see you making up the most entertaining stories and plays. Makes me wish I had grown up with you!
Very cute, Cindy! It’s never too early to get your Christmas crafting on, is it? I’ll be sharing!
Uncustomary Art says
I’m so into the fact that you’re making something “Christmas” themed in the summer. Couldn’t be more happy about it, actually! Keep celebrating every day, darling!