
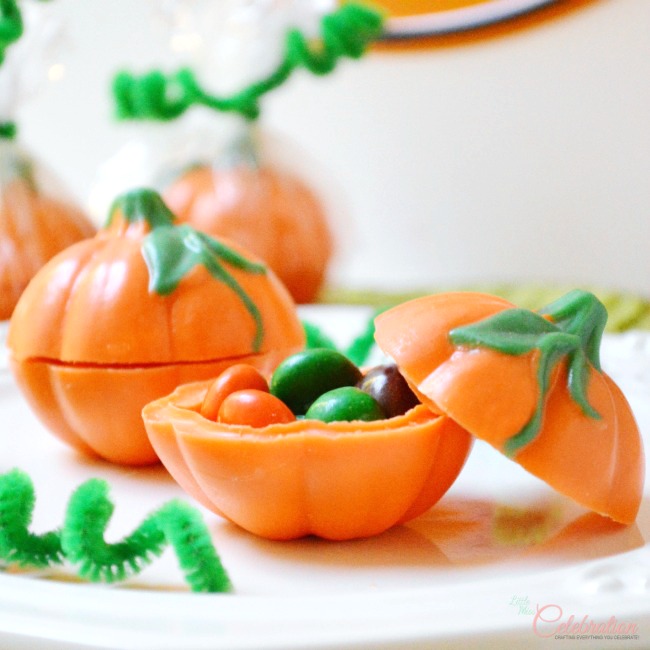
 It’s the first day of October and that definitely means pumpkins! Pumpkins to carve, to decorate to eat – there are pumpkins aplenty this month! I originally shared these cute little pumpkin candy boxes last year at Fresh Idea Studio. I thought they were perfect to kick off the month! These little pumpkins can hold small candies AND you can eat the box! Pumpkin Spice M&M’s are my candy of choice to fill these. ? Even if you’ve never made a piece of candy, ever, you can absolutely make these!
I used Wilton’s 3-D Pumpkin Candy Mold, which is a two piece mold and makes creating these little cuties as easy as pie – pumpkin, of course! You need just two colors of candy wafers – orange and green. I’ll take you through the easy process, and if you want to learn a little more about making molded candy, different kinds of candy melts and some tips and tricks, visit my Introduction to Molded Candy. Making candy has been an obsession of mine for years! ?
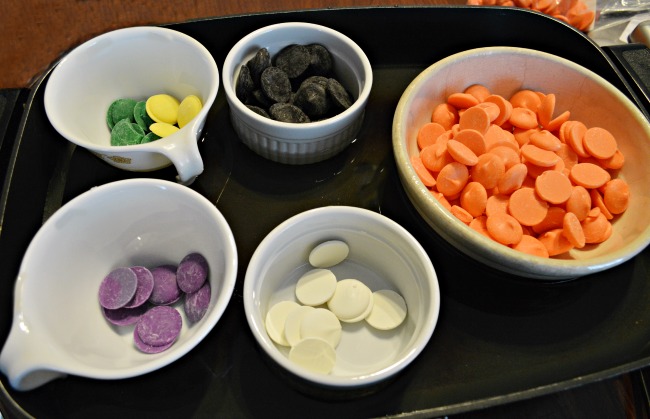
Melt your candy wafers. There’s a lot of colors in the photo, I know! I was double-teaming and making these pumpkins with some other treats. I use bowls in an electric frying pan if I’m melting many different colors; for two colors, you can melt them in a double-boiler over simmering water or even in the microwave.
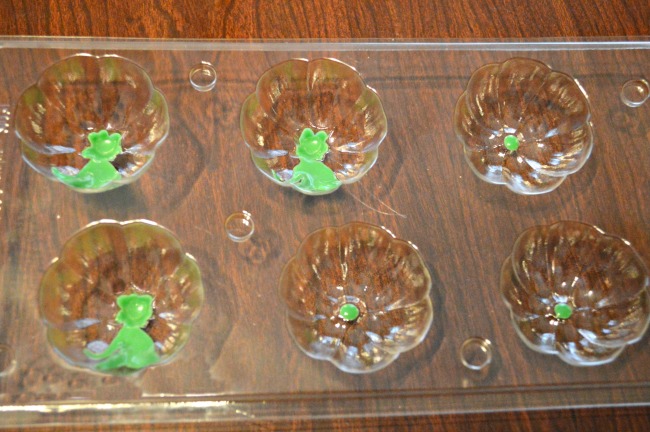
First, use the melted green candy for the pumpkin stem and leaves. You can either use a squeeze bottle, or my preferred way, “paint” the melted chocolate in with candy brushes, also from Wilton and available in the cake/candy making supply aisle at JoAnn or Michaels. Let the green candy set until firm and dry.
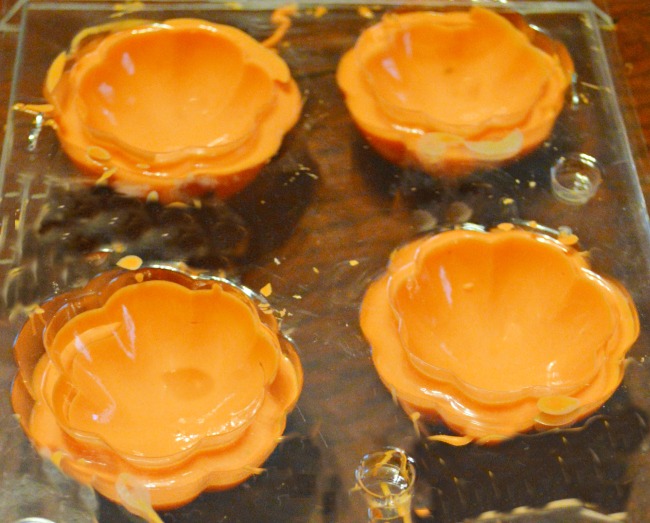
Spoon melted orange candy into the pumpkin mold cavities until about two-thirds full. Lift the mold an inch or two off the table or counter and tap firmly several times. This helps to get rid of any air bubbles in the melted candy. Take the “lid” or second piece of the mold and snap in into place. I put the second piece on backward the first time! So, I had a lot melted candy all over the place and that’s why this looks like a big old mess! I just turned it around and snapped it on. Place the mold in the refrigerator until the bottom appears frosty – about 45 minutes to an hour. Remove the mold, take off the lid and gently unmold the candy pieces onto a layer of paper towels. You now have little pumpkin candy boxes!
These are small but can hold a handful of M&M’s or other small candies. You could fill these with chocolate ganache or another filling for a sweet little fall dessert!

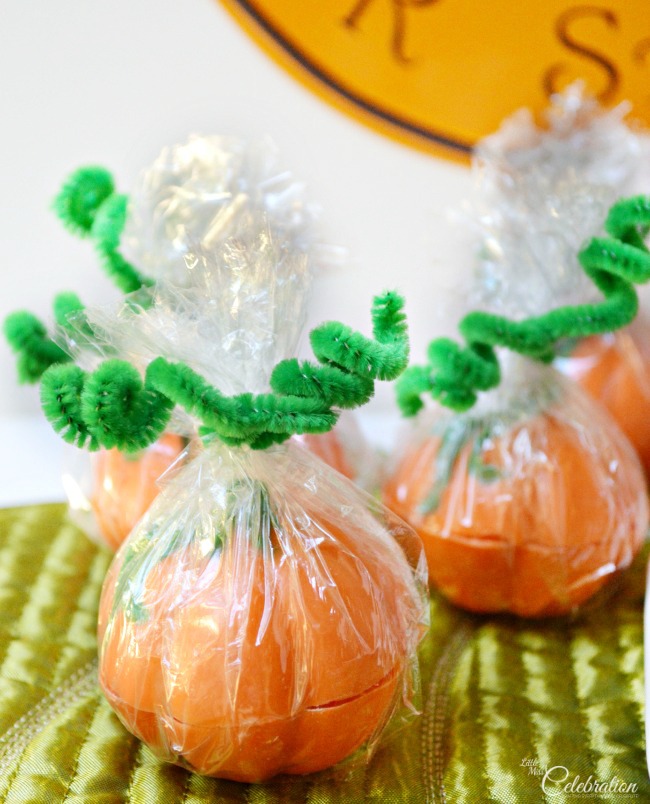
Easily wrap these little pumpkins up and use them as favors or place cards for your Thanksgiving table! Simply use plastic or cellophane to wrap each pumpkin. Twist a green chenille stem around the plastic to close; wrap the ends around a pencil to curl and you have a curly stem! How cute will these look at each place setting?
If you’ve never tried making molded candy before, give it a try! You’ll have fun, I promise – and kids LOVE to help!
Have a pumpkin treat today and enjoy the first day of October! Thank so much for visiting!
Sharing at these parties!
Moonlight & Mason Jars at Five Heart Home Whimsy Wednesdays at The NY Melrose Family Inspiration Party at live laugh rowe Thursday Favorite Things at Katherine’s Corner Wildly Original Link Party at I Gotta Create! I’m Lovin’ It Party at Tidy Mom The Weekend re-Treat Party at The Best Blog Recipes Creativity Unleashed at shaken together Freedom Fridays with All My Bloggy Friends at Love Bakes Good Cakes Link Party Palooza at i heart naptime Best DIY Projects & Recipes Party at The 36th Avenue Say G’Day Saturday at Natasha in Oz Serenity Saturday at Serenity You Show Me Saturday at 3 Little Greenwoods The Creative Collection at Classy Clutter DIY Sunday Showcase at PinkWhen Monday Funday at A Night Owl Blog Inspiration Monday at i should be mopping the floor Made by You Monday at Skip to my Lou Project Inspire{d} at Cupcakes and Crinoline Treasure Box Tuesday at Memories by the Mile Do Tell Tuesday at Mabey She Made It Create Link Inspire at Kleinworth & Co.


I have never tried to make molded candy before, but these are too cute! You inspire me! ?
Cindy – these are adorable!! Fun to make and give as a gift too!
OMG, those are so adorable Cindy!!
LOVE!!!! I want some of these! Your candy posts are always so wonderful. Pinned!
Oh my goodness are these CUTE!!! What a great idea for a Halloween treat!
Dear Cindy, I love this idea and the pumpkins turned out perfect! What a great way to kick off the fall. Blessings, Catherine xo
Cindy, these are absolutely adorable! Your tutorial is so helpful, too. These would be perfect for Thanksgiving place settings, like you mentioned, and I think they are so cute in the baggies, too. You did an amazing job!
These are so cute! I need some molds and Wilton candy melts, stat!
~Meaghan
These are adorable! Thanks so much for linking up to Show Me Saturdays!
This is awesome! I love that the container is edible ?
Really love these Cindy, #SerenitySaturday