 Décor, flowers, programs, menus, place cards, cake – the dollars spent on any wedding can rack up faster than you can say “I Do!” Most of us don’t have unlimited budgets, but it doesn’t take an unlimited budget to make a wedding spectacular!
A destination wedding definitely does not have to limit your vision – there are all kinds of great things you can take, make and do. A little planning is involved and yes, lots of bubble wrap! Today, some of the things that we did for Scott and Chelsea’s wedding to inspire your creative juices, with some tips for getting it all to your destination location.
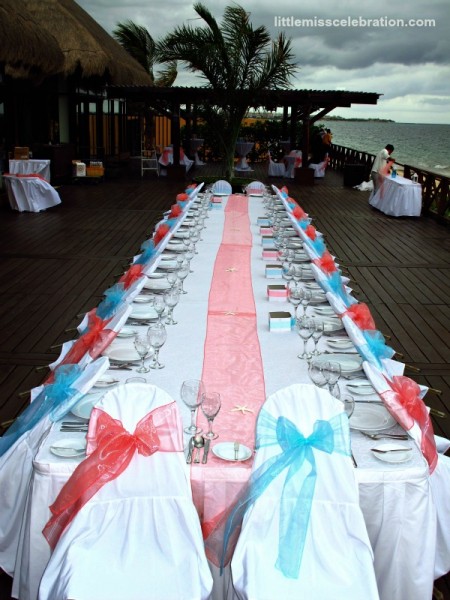
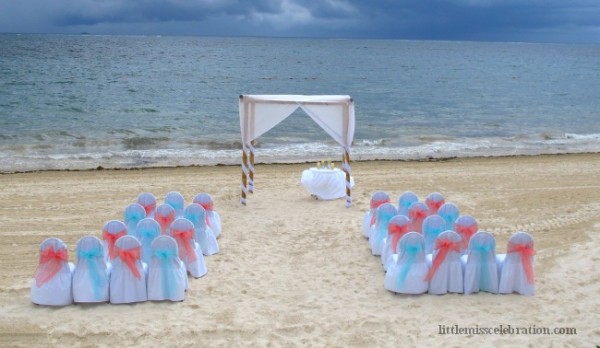
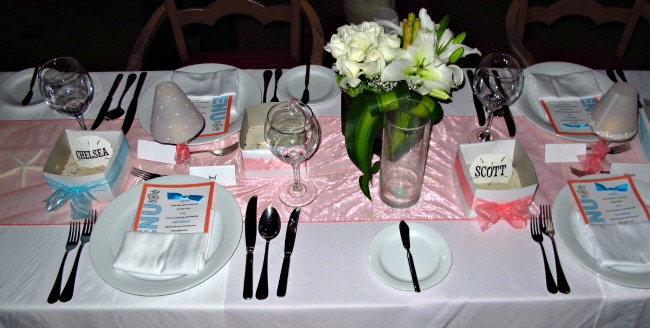
We decided to use organza bows in coral and blue for the ceremony and reception chairs, with sheer table runners to add a pop of color to the reception table. Plus, we would use sheer and satin ribbon in the same colors for other elements of the wedding reception. There is so much you can do with pretty ribbon and bows! It was much more cost effective to buy all of the ribbon and organza in advance and take everything to Mexico. I bought organza chair sashes, table runners and ribbon from BB Crafts and The Tulle Shop. I was thrilled with the quality and speed of delivery from both vendors!
A tip about the organza sashes…they will need to be steamed/ironed at the wedding location. Silly me decided to do them myself…what was I thinking?? A hotel-room iron is just not equipped to steam 100+ sashes, ribbons, etc. Seven hours later, after refilling that little iron a zillion times with water and using every hanger I could find, they were done! You’ll see the irony in this at the end of the week! Trust me – let the hotel staff do this for you. It’s so worth whatever the cost is!
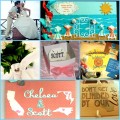
Here’s a photo of setting up the reception table and the beach…yes, those are storm clouds you see!
The program looks a little odd, because I took out the names, but you get the idea. We did half in blue and half in coral with opposite color ribbons.
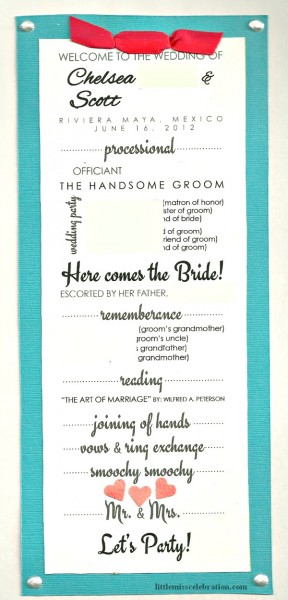
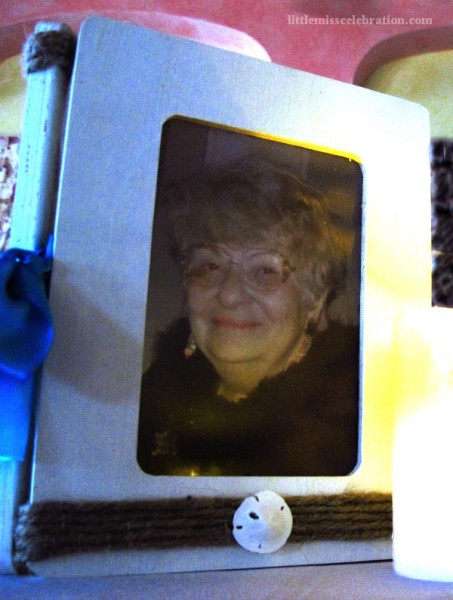
Notice the remembrance on the program card? We had just lost my mother-in-law two months before the wedding AND the wedding was actually taking place on her birthday. Chelsea had also lost her paternal grandparents and my mother was unable to make the trip to Mexico. While lost loved ones and special people who are unable to be at a wedding are always with you in spirit, some ideas we used to honor them at the wedding included a remembrance on the program and pictures in the lovely photo candle frames Chelsea made. This is my mother-in-law, our dear “Emme” of Flashback Fridays.
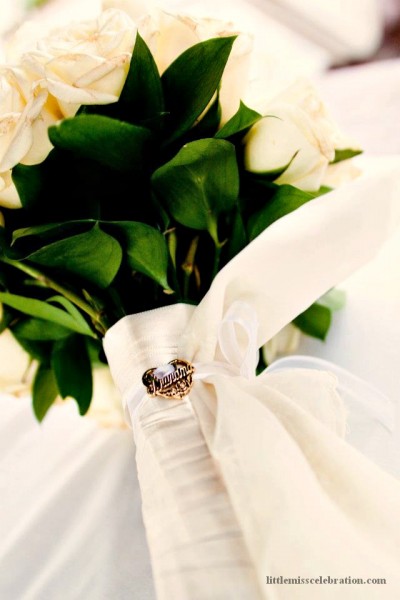
We also honored Grandmom with this pin on the bride’s bouquet. The hankie tucked into the bouquet was actually the one carried by Mom at her wedding to my Dad!
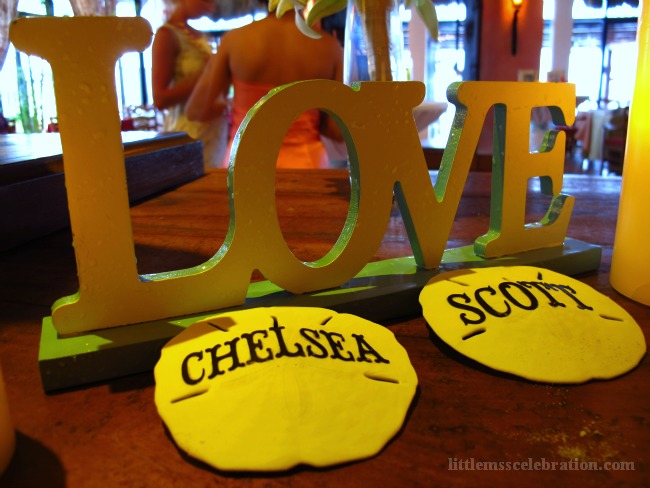
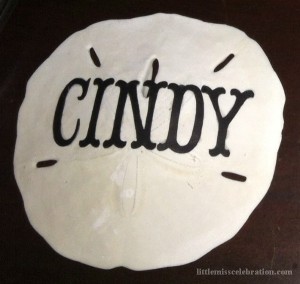
I loved what we did for the place cards! Using my Cricut and the Storybook cartridge, I cut out the guests’ names and glued them to sand dollars.
At the reception, we filled boxes with sand, tied them with ribbon and put in the sand dollars. Cute, right?
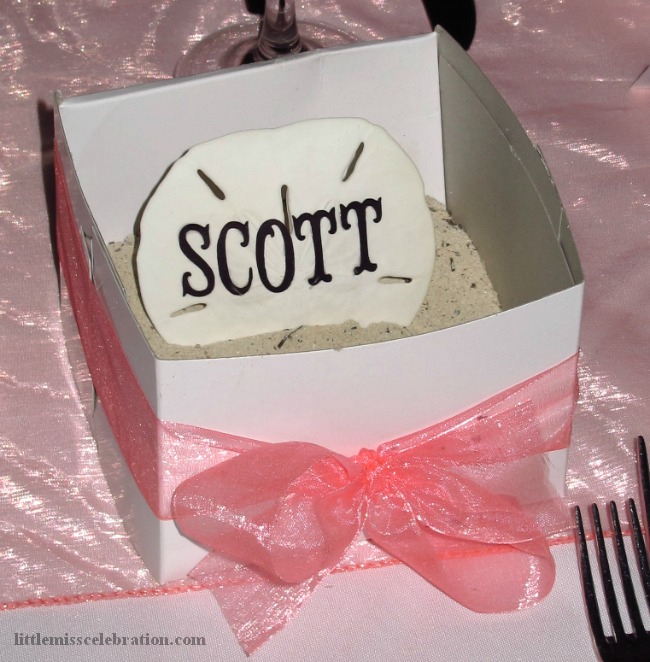
The sand dollars, and starfish for the tables, were purchased from QualityShells.com. Order extra! Inevitably, some break in shipment. I actually had enough for a complete second set, plus more. Compulsive person that I am, I also cut an entire second set of names and took them with me, just in case! You know, every sand dollar made it to Mexico intact! I’m sure the 6” inches of bubble wrap I put on each one had something to do with it…but still!
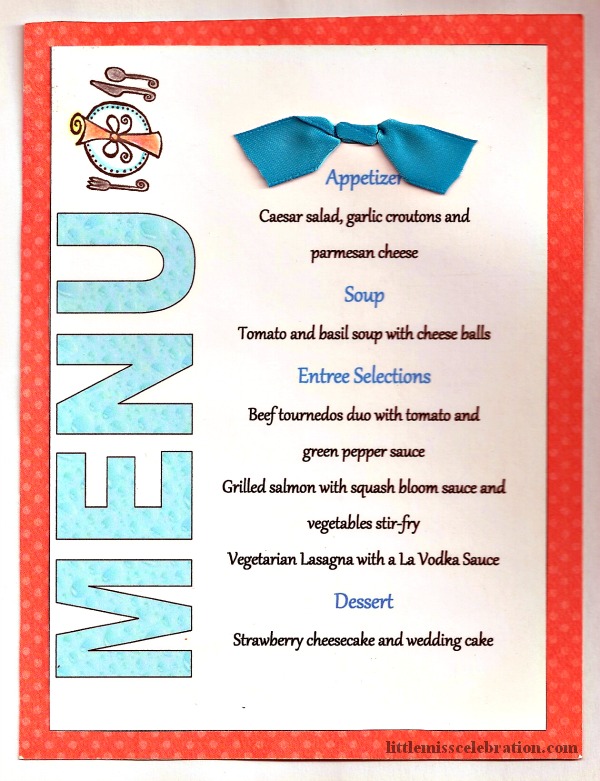
Everyone has seen the vellum candle shades all over Pinterest…we made them too! You can find the pattern here and how to make them from Save On Crafts here. Take them up a notch by adding pearls, glittered scroll tape, gems or Stickles. I actually used Liquid Pearls (you have to try it!) Check with your venue about using wine glasses! We were unable to use wine glasses at the Now Sapphire, but did that stop us? No way! I bought two-piece plastic wine glasses at a local party supply store and we took tons of battery operated tea lights. They looked great on the tables and all the “glasses” traveled just fine…bubbled wrapped, of course. Just one broke because I accidentally stepped on it in the hotel room. Plus, here’s our cute menu cards! I did them in Microsoft Word, added a little stamped place setting and used some colored pencils.
 So how did we get all this STUFF there? We were advised to bring everything with us on the plane – we could have shipped it, but a) I wasn’t ready to send anything two months in advance (the resort’s request) and b) why risk something getting lost?
Yes, we had a LOT of luggage. It was ok and the extra cost was totally worth the peace of mind (as much as possible given lost luggage!) We took as much as we could on the plane with us.
Packing Tips
- Place paper good (menus, programs, etc.) between sheets of tissue paper, sandwich between chipboard and place in a padded envelope.
- Wrap everything breakable or fragile in bubble wrap and bury between clothes in your suitcase.
- Wrap sand dollars in bubble wrap and pack in a box for your carry-on.
- Take your wedding gown on the plane with you! Touch base with your airline in advance to see if they can accommodate hanging it for you on the plane or if you need to take it in a carry-on.
- Pack an emergency craft kit! I had to put this in a checked bag, because of the scissors and craft knife…thank goodness it arrived. My emergency kit included lots of different glues, tape runner, scissors, craft knife, toothpicks, erasers, straight pins, double-sided tape, regular tape, Stickles, extra vellum and the candle lamp pattern, ribbon, a ruler and more I know! No, I did NOT take my Cricut, but I DID think about it!
Totally excited for our next segment, where I will share the FAVORS…I just loved them and can’t wait to show you!!
Thank you so much for visiting today! Has anything inspired you?