
 No matter where a wedding takes place, chances are good that some guests will be traveling to celebrate the special day. At a destination wedding, everyone is traveling to party with the couple! A welcome bag is a fantastic way to greet your guests, let them know how special they are, give them the 411 on plans and events for their time away and kick off the festivities with some fun!
Welcome bags don’t have to put a major dent in your wedding budget! With a little thought and creativity, you can create a great, personal welcome for your guests and give them a little “swag!”
When my daughter-in-law, Chelsea, and I were planning the welcome bags, we went with “divide and conquer!” Chelsea and Scott handled the contents, I was on bags and welcome cards. We carried the “home” and “adopted” states theme into the welcome bag contents, plus Chelsea came up with lots of fun and useful items their guests might need during their time in Mexico (we all forget something when we travel!)
Remember to consider packing, transporting and what you are allowed to take into your host country, if your destination wedding is taking place outside of the United States. Many countries have strict regulations regarding food, fruit and other items. Your travel agent and/or wedding coordinator can provide guidance and you should visit the country’s official government website for up-to-date information.
I knew right away that I wanted to use canvas totes for the welcome bags. My thought was they would be easy to pack, it would be something the guests could keep and maybe even use in Mexico as a beach bag or tote. Guess what? Some of them actually did use them during the trip, which was so great!
These natural cotton twill totes measure 13”x13”x3” and were a great buy from Ingreetings.com. Visit their website here. They were super easy to make!
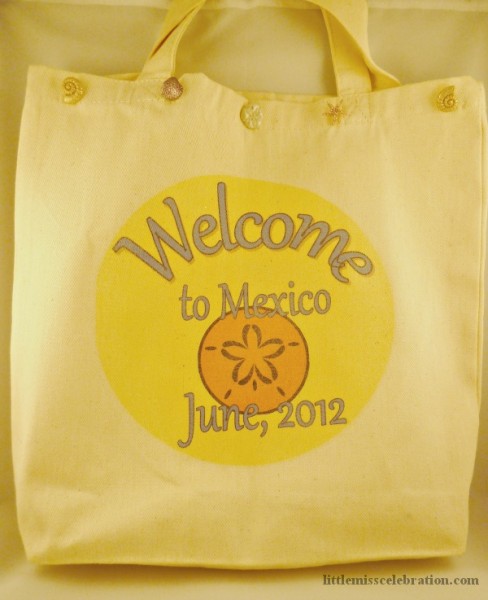
I simply used a little clip art and designed my layout in Microsoft Word. Print out your design and hold it up against your bag to be certain you are totally happy with it before printing on transfer sheets.
- One the design is just the way you want it, print on transfer sheets and allow to dry. I used Tailor Light T-Shirt Transfer Sheets for Ink Jet Printers.
- Check the directions carefully for the specific type of transfer sheets you use. Some require that the final image in Microsoft Word be “flipped” or that you create a “mirror” image. Basically, this just means that the image will print backwards, right to left, rather than left to right. Once the transfer is ironed onto the canvas, it’s facing the right direction!
- Two more good tips when transferring a design to a tote bag! Trim your design very close to the print, leaving just a small margin all around. This will ensure a smooth and clean edge. Second, using an ironing board typically does not make for a successful transfer – at least not with the transfer sheets I bought. (Believe me, I tried that first! One canvas bag in the trash can!) I used a large, old wooden cutting board, which dispersed the heat well.
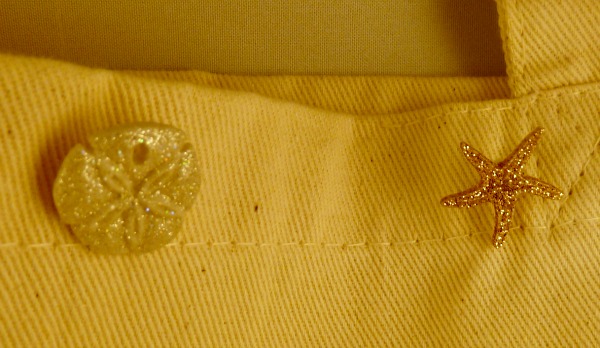
I wanted to add a little sparkle (I mean, come on, it’s me!) but not make the bags too “girly.” I found these darling glittery Jesse James “Dress It Up” buttons from Shelley’s Buttons and More. Visit Shelley’s here. The shapes were sand dollars, shells, and starfish – how perfect were these? You could cut off the shanks and glue the buttons on, though it was easy to just sew them on across the top and know they were secure!
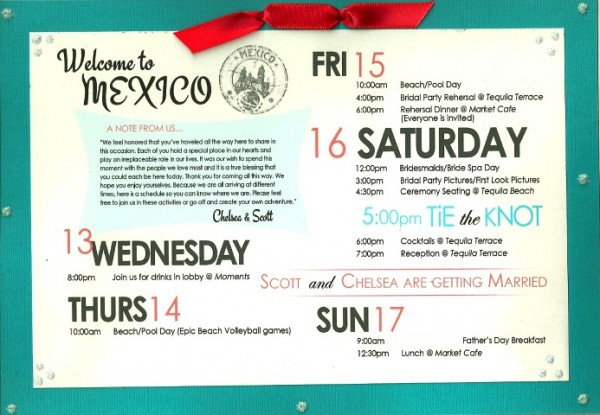
We put together this card to welcome the guests and give them an idea of some activities over the days in Mexico. It’s a good idea to give your guests options to join in activities or not…there’s plenty of time for everyone to hang out and have a good time!
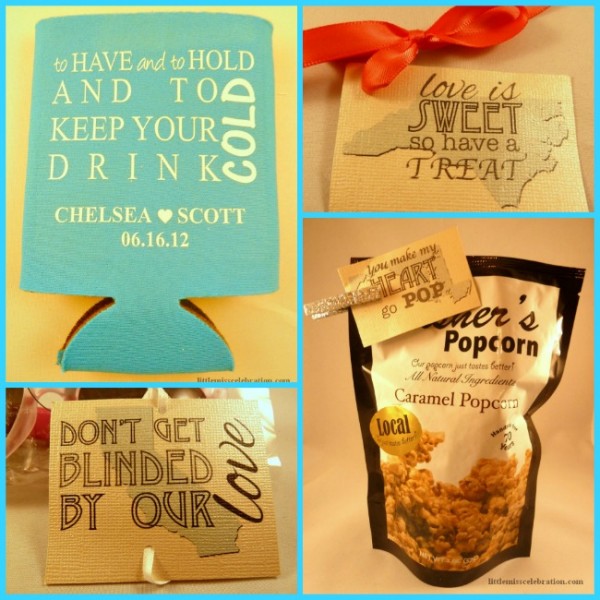
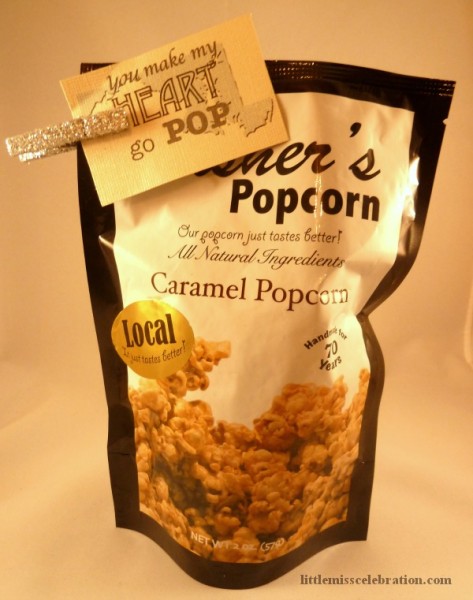
I just loved all of the goodies in our welcome bags! For the “state” goodies, there was our family favorite, simply-the-best caramel popcorn from Fisher’s in Ocean City, on Maryland’s Eastern Shore. Don’t you just love the card attached with a little glittered silver clothespin? You make my heart go POP!
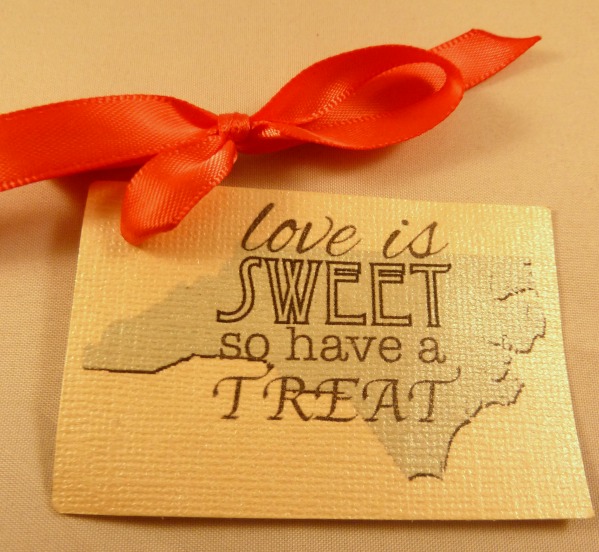
Next was a bag of yummy salt water taffy from North Carolina (sorry, the taffy is long gone!) with this cute tag! Love is SWEET so have a treat!
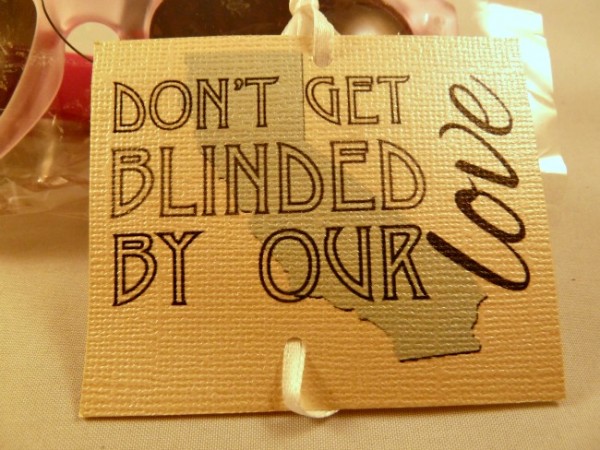
Naturally, everyone had to party like a West Coast rock star with fun, colorful shades and this great tag! Don’t get BLINDED by our Love!
There was a fun drink koozie to commemorate the occasion.

There were lots of other goodies, including sun tan lotion, Aloe Vera, Advil, Tissues, Antacids, beach ball, a CD of the wedding music and more. I know EVERYONE used more than one of the welcome bag items while they were in Mexico…and really appreciated the thoughtfulness of the bride and groom.
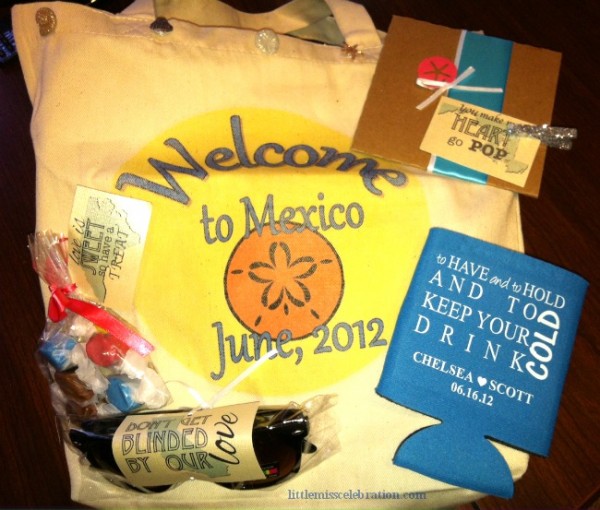
With your own personal spin, some items to help guests at the destination and a big sprinkle of fun, you’ll create welcome bags your guests will adore!
Well, I’m definitely having a major blast this week and hope you are, too! How do you make a destination wedding reception look special without breaking the bank and how to best GET it all to your wedding location? Sharing some ideas next time!
I know I always say thank you for visiting – but if I don’t tell you, you don’t know! Thank you for sharing this special week and most of all, I hope you are finding a little help and inspiration!






I really like these – they are cute, clever and practical. No need to wait for a destination wedding – they would make great favors at any informal wedding or even a shower.
Thanks, Roberta! You are right! Tote bags are fun and easy to make and are great for any occasion.
Wow – this is just TOO fun! I got married in ’98 but if we renew our vows in a destination setting this will be my GO TO bad of ideas!! Love it!! ? Claire
Thanks, Claire! I love the vow renewal idea…I should think about doing that! You will have a wonderful time! Thank you so much for stopping by…I truly appreciate it!