
 The brown, paper grocery bag. Even though all too often they are replaced with plastic, thank goodness the bags are still an option! For years, crafters used the humble, brown paper bag and recycled them to make lots of easy crafts and gifts. For today’s Flashback Friday, we’re making a paper bag bunny, perfect for Easter and springtime!
You can either sew or glue this bunny – whichever is easier and works for you! If you decide to glue, you can draw little “sewing” lines all around the bunny with a fine-tipped permanent marker in any color you like.
The template provided with make a bunny about 10” high, not including the ears. You can reduce or enlarge the template to make a little tiny bunny or a much bigger one!
For this bunny, you need:
- Bunny templates (Click for the templates – both the bunny “body” Bunny Body Template PDF and “ears” Bunny Ears Template PDF)
- Two brown paper grocery bags
- Scallop-edged scissors
- Sewing machine with thread in your choice of color or low-temp hot glue gun
- Batting or Fiberfill
- Jute, twine, or ribbon of your choice for the bunny’s bow and for hanging
Print out the template on cardstock and cut out.
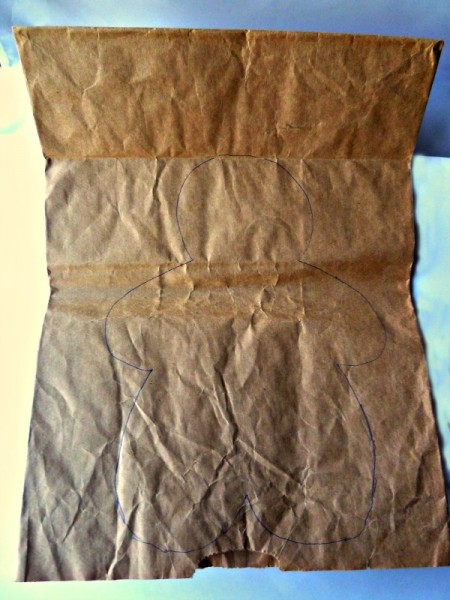
Place the bunny “body” template down on a paper, grocery bag. The template size included should fit just below the bag fold. Trace the template and cut; you will have two bunny bodies of the same size. Repeat the same process for the ears on a second brown bag. You will have two sets or 4 “ears.”
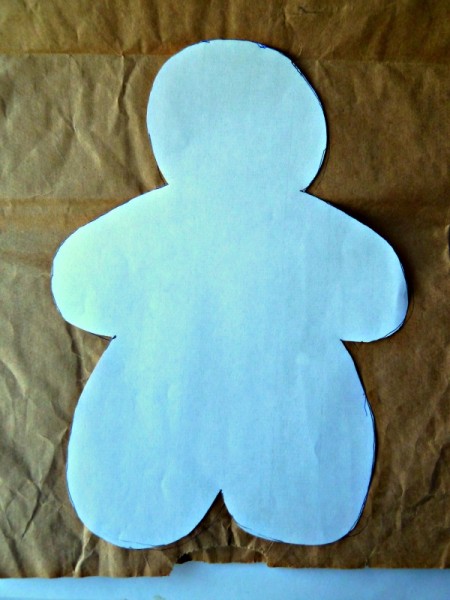
Tip: If you want to make a larger bunny, cut two paper bags down each side so that they open flat. Stack the two pieces of brown paper and trace your bunny. If the bag is not large enough, glue two or more together. Wrinkles and seams actually add to the charm of this simple bunny! If you want to get the wrinkles out, place a towel over the paper bag and iron on low.
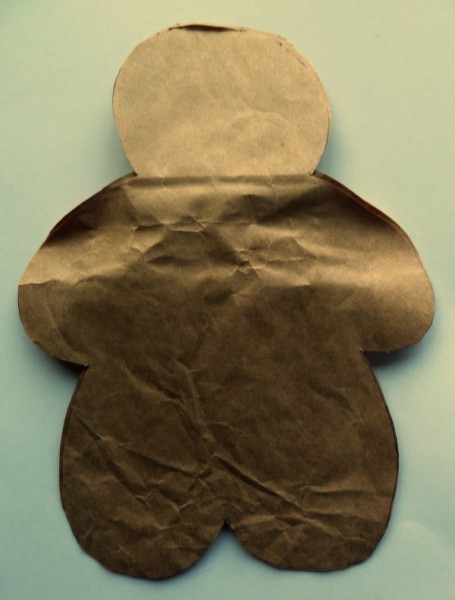
For me, this is the most challenging part! Using scalloped-edged scissors and at the edge of the bunny shape, cut a scallop edge all around the bunny body and ears. Make sure your scissors are sharp and line up the scallops as you are cutting.Sew or hot glue each set of bunny ears together. Either sew or hot glue about two-thirds around the bunny body. Lightly stuff the bunny body with batting or fiberfill – unless you want a chubby bunny! Sew or glue ears together; do not stuff the ears.

Finish sewing or gluing to the top of the bunny head; place ears in between the two paper body layers and stitch or glue closed.
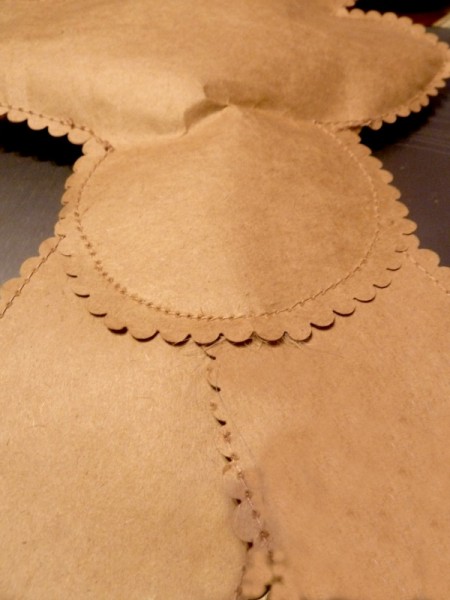
Leave a small opening between the two ears; something will hang the bunny and you can glue this closed. As you can see, I DID not do that and had to rip away a little bit. Hot glue to the rescue!
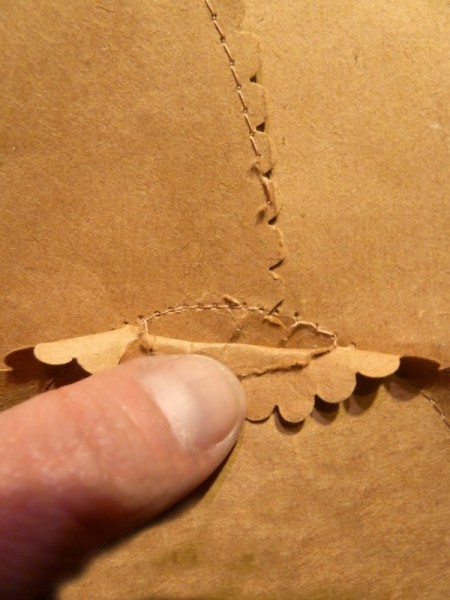
Space for ribbon between ears
The finished, stuffed bunny looks like this!
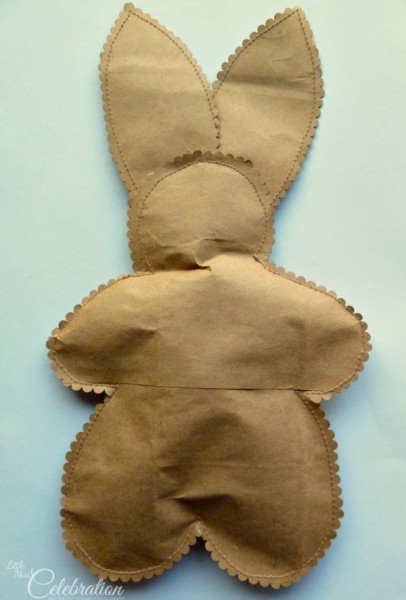
Now, you can finish your bunny in a way that’s rustic, fancy, simple – however you choose! Add a loop of jute, twine or ribbon between the bunny ears to hang. Make a matching bow and glue at the neck.
Remember the photo of all that burlap ribbon I shared a few Flashback Friday’s ago? Here it is again as a reminder – I’ve been thinking of all kinds of ways to use it!
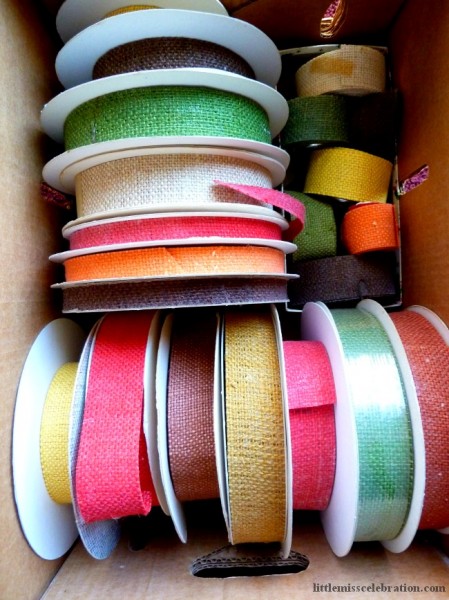
I decided to make another bunny couple, giving my guy bunny an orange burlap ribbon tie and my girl bunny a yellow burlap ribbon for her head. With the green burlap ribbon, I made a big bow and hung the bunny couple on the ribbon streamers.
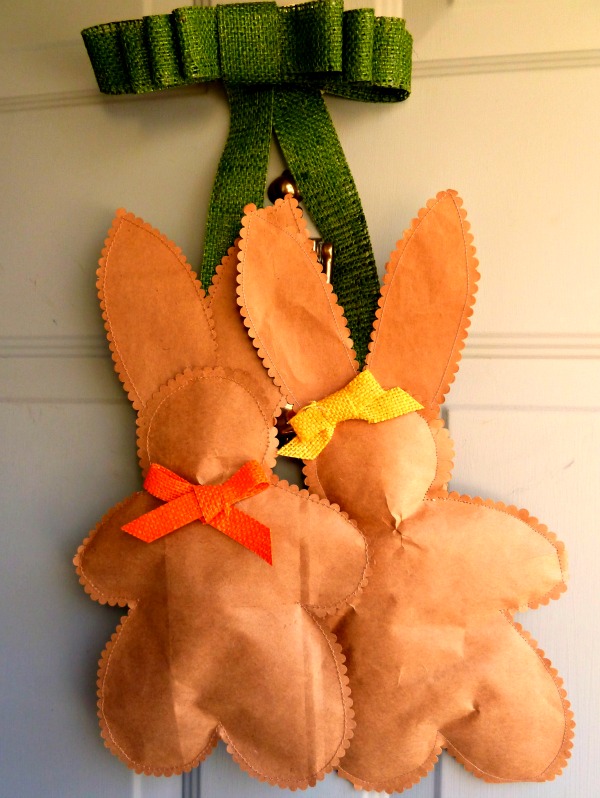
Done!
A smaller version of this bunny, on either a paper bag or flat and unstuffed on Kraft cardstock, would be a cute little tag, favor or place card for Easter dinner.
What do you think? Keep your paper grocery bags, my friends! We’ll be recycling and transforming them into other little cuties throughout the year.

Thanks for dropping in for Flashback Friday. Whatever you do this weekend, hope it’s full of joy…and I hope by next time, I am over this horrendous cold!



I don’t know what is the cutest, those paper bunnies or that stash of burlap colored ribbon!! (:^O)
Beth, thanks so much for your visit and comment! The ribbon stash is fun, isn’t is? Some fun projects in the works with that burlap. I’m glad you think the bunnies are cute! Have a great weekend!
Aww these are super cute, Cindy! I remember when I was a kid I used to make puppets with the small brown paper bags. Your post brought back memories!
Have a great weekend!
Thanks, Julie! I’m glad these little guys brought back that memory…that’s what Flashback Friday is all about! Thanks for sharing!!!