
Gather up a pile of shiny pennies and make a cool Penny Box for Dad! The frugal and even not so frugal Dad will get out a kick out of having a fun, unique place to save his spare change. The kids can definitely get in on the penny action and might even want to make their own penny box!
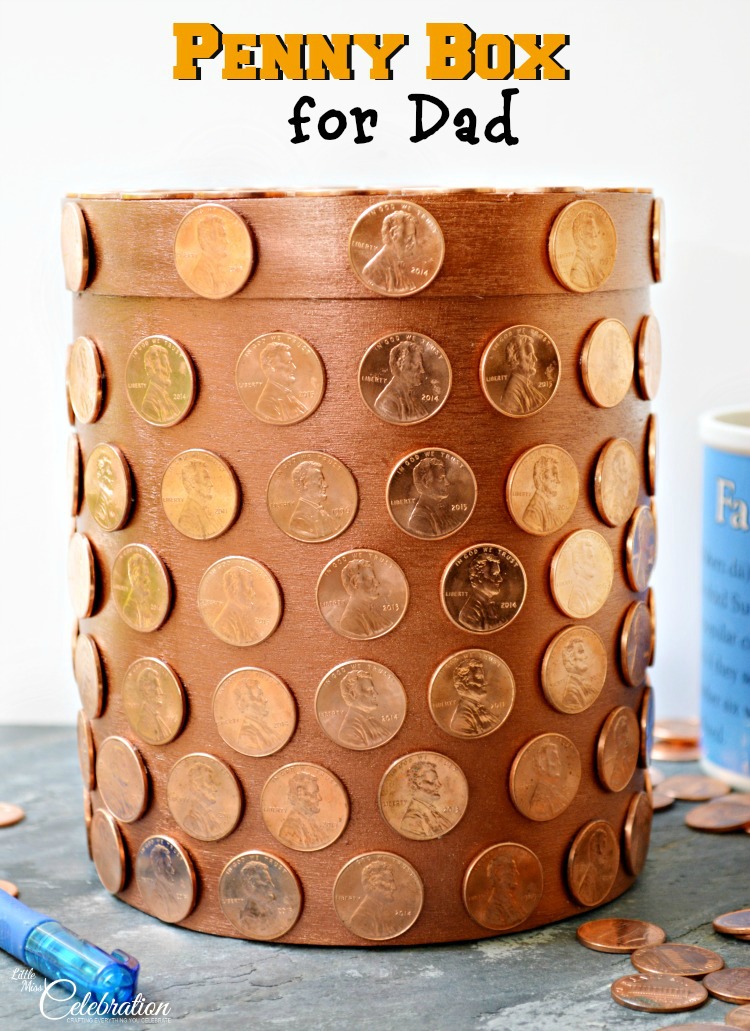
Some Dads (like my Mr. Smarty Pants) have made it a mission to teach their kids the value of a dollar. Or even a penny. Hubby likes to use those phrases as well-worn as an old penny!
“A penny saved is a penny earned.”
“Watch the pennies and the dollars will take care of themselves.”
The penny box is super easy to make and here’s how we do it!
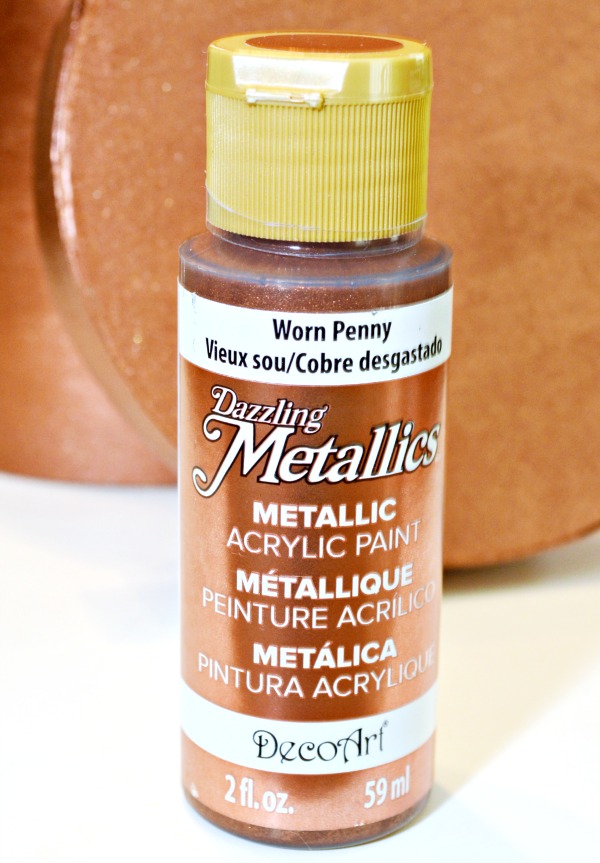
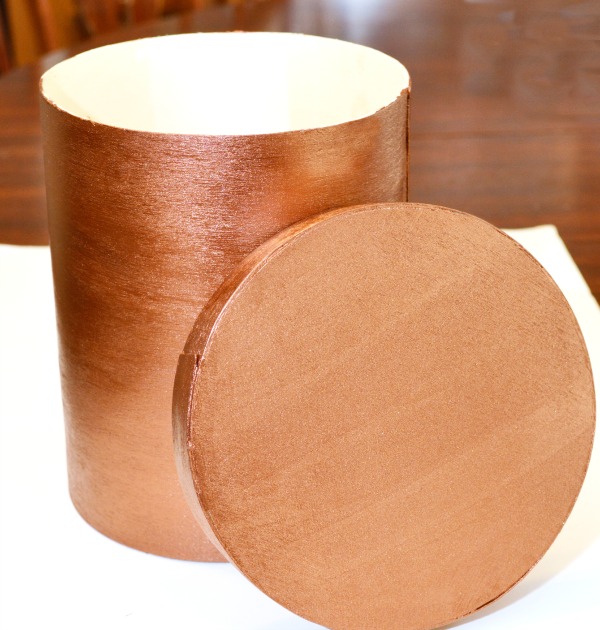
Any kind of paper mache or chip wood box will work! I used a round chip wood box this is 6” tall and about 5” in diameter. Give your box two coats of DecoArt Dazzling Metallics paint in Worn Penny. It’s an absolutely perfect color for this project!
Next, gather up your pennies! I wound up using 134 pennies on my box – the number of pennies will depend on the size of your box and the pattern you decide to make. I sent hubby to the bank to get me six rolls of new pennies. I was under the (false) impression that I would get brand spanking new pennies right from the mint. Hmm…new pennies from the bank are NOT new pennies from the mint. After going through the rolls, only about twenty passed what hubby called my “pretty penny test.” He coined that phrase (yes, pun intended!) after we sat at the kitchen table for an hour and I kept saying, “That is NOT a pretty penny! Rejected!” ?
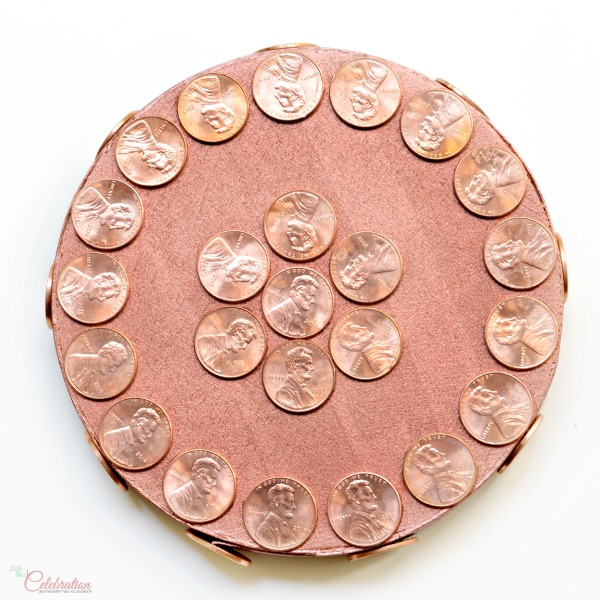
Between hubby’s considerable penny stash, and emptying out lots of purses – during which I found almost $100 in change, cha ching! – I had plenty of pretty pennies! I used a pair of craft tweezers, Gem-Tac glue and a pile of toothpicks. Spread a thin layer of glue on the back of the penny and place the penny on the box. I started with the lid, and decided to let some of the pretty paint show. Here’s how the lid looked when I was finished.
Place the lid back on the box to start adding your first row of pennies to the box bottom, because you want to make sure there’s plenty of clearance for the lid to be removed and replaced easily. The next row I added was at the very bottom of the box. This is to make sure there isn’t any weird spacing at the bottom that would be kind of tough to fix. Once you have those two rows, fill in the rest as you like!
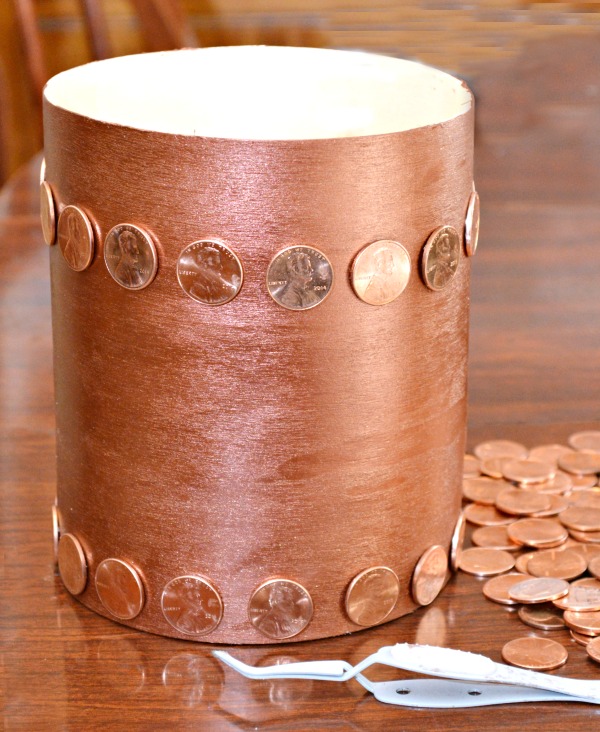
Adding the pennies goes really fast. Hold the penny in place with your finger for a few seconds; it stays in place quickly. Before you know it, your penny box is shiny and done!
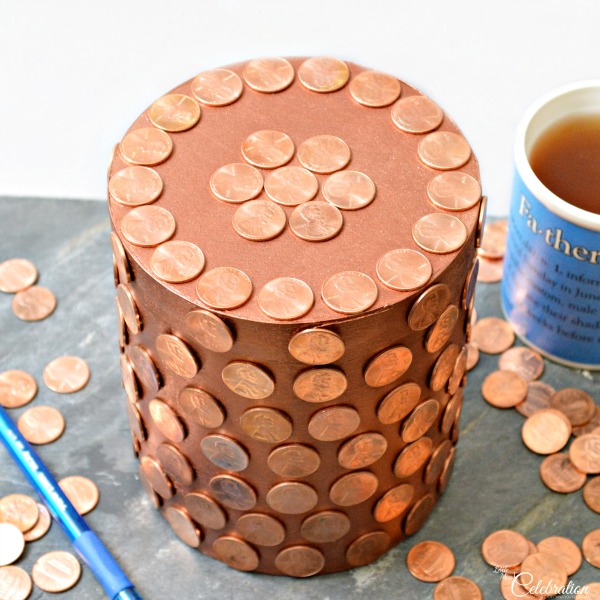
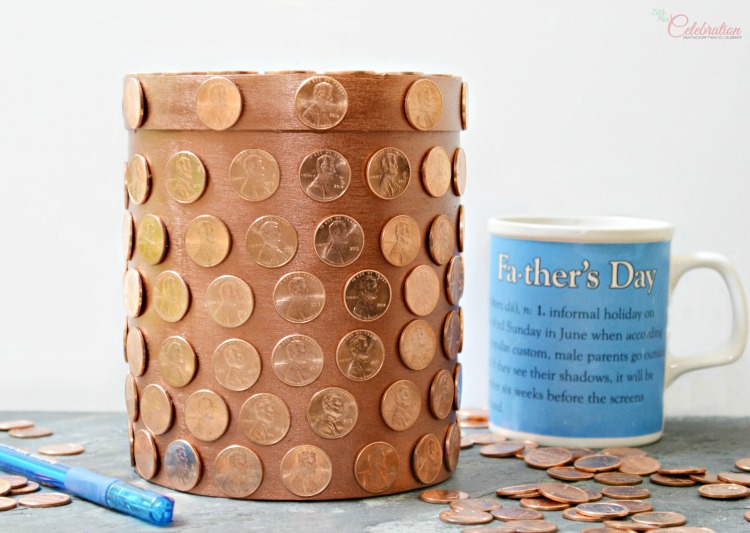
Besides watching his pennies, hubby has also been a lifetime coin collector – so is it any surprise this project is his favorite? ? He really loves this box and thinks it will be a fun conversation piece. I think any dad or grandfather would get a kick out of having their own penny box for Father’s Day. Use all pennies from 2015 to mark the year that you made it and add a special message to the inside of the lid or bottom!
Happy Friday and thanks for visiting!
Sharing at these parties!
Creative Collection at Blooming Homestead Link Party Palooza at i heart naptime Best DIY Projects & Recipes Party at The 36th Avenue Skip the Housework Link Party at Reasons to Skip the Housework DIY Sunday Showcase at PinkWhen Merry Monday at My Pinterventures Snickerdoodle Sunday at Meatloaf and Melodrama Inspiration Monday at i should be mopping the floor Treasure Box Tuesday at Yesterfood Project Inspire{d} at Cupcakes and Crinoline Create Link Inspire at Kleinworth & Co. Whimsy Wednesday at The NY Melrose Family





What a fun idea, Cindy! My daughter is always finding pennies and this would be a great place for her to keep them.
Such a fantastic idea. My hubby does a great job in teaching the kids the value of money. I would love to make something like this!
My kids would love making this!