
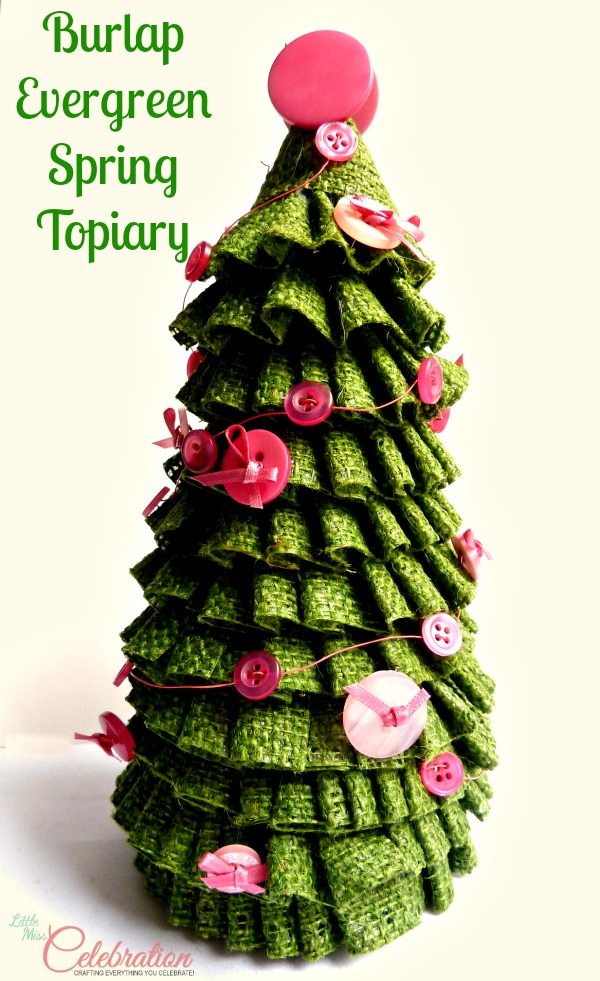
I’m pretty sure that evergreens aren’t the first trees that come to mind when we think of Spring. We’re thinking cherry blossom, dogwood, magnolia – all those beautiful, flowering trees that strut their stunning stuff just once each year. Evergreens, though, are our staunch and faithful garden friends, providing color, structure and beauty on even the most dismal of days. They totally deserve a little Spring dress-up, don’t you think?
That green burlap ribbon was just speaking to me that it wants to be an evergreen tree. It seemed just perfect to use it for a Spring evergreen topiary – and I am just in LOVE with this one! It took a little time, but here’s how I did it.
I started with a smaller, 4” Styrofoam cone. I did not want to hot glue this ribbon, so I decided to pin it. Yes, it took a lot of pins! I have been going through the pins lately and my husband was nice enough to make an emergency pin-run to Joann for me yesterday afternoon! I pleated the ribbon and pinned each pleat to the Styrofoam. Here’s the first row.
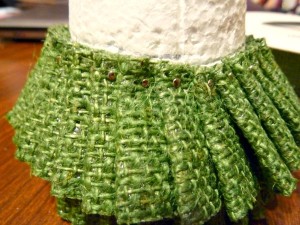
I overlapped the next row over the first one to hide the pins. I kept pleating and pinning, and pinning pleating, all the way to the top of cone.
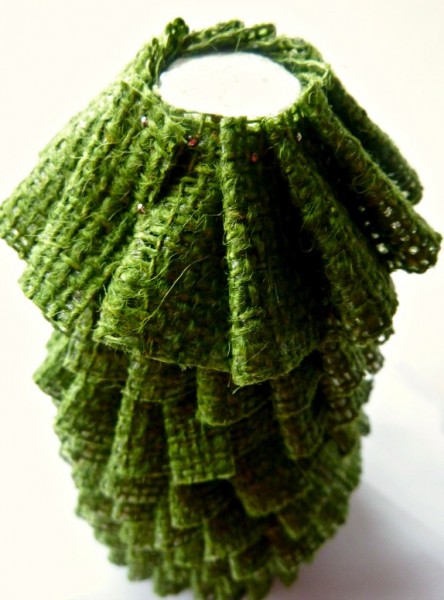
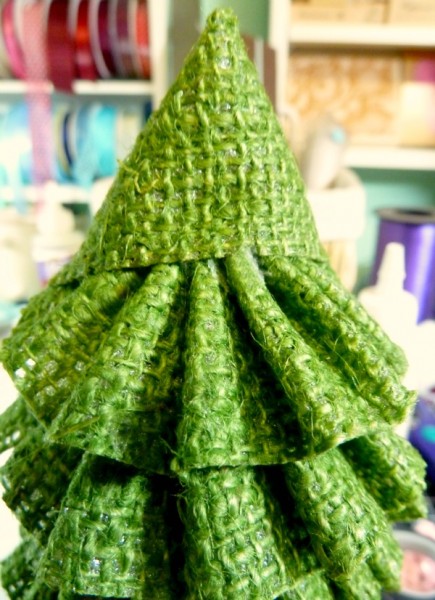
Once I got to the top, I was momentarily perplexed. Ok, here I used hot glue! I glued a pleated section together into a cone shaped, pinned it to the top row and finished with an non-pleated cone on the top.
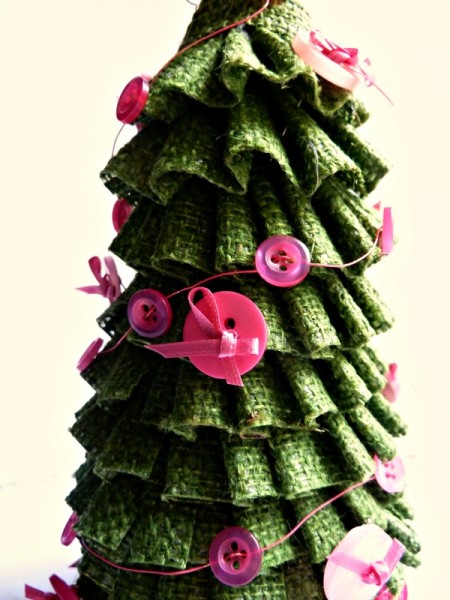
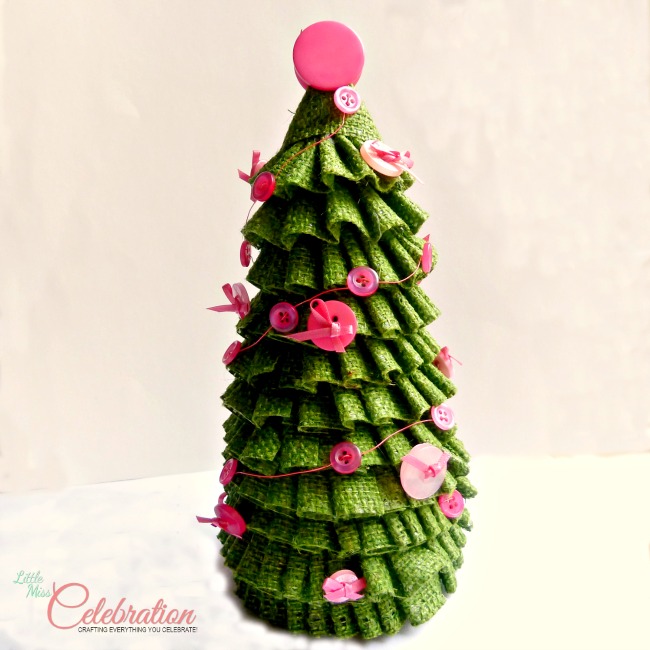
Staying with my pink and green theme, this little burlap evergreen is decked in pink ribbons and bows. Here’s a tip! I definitely want to use this little tree again and want to be able to change it up. All of the buttons are pinned to the burlap. For the big top buttons, I hot glued a straight pin to the back.
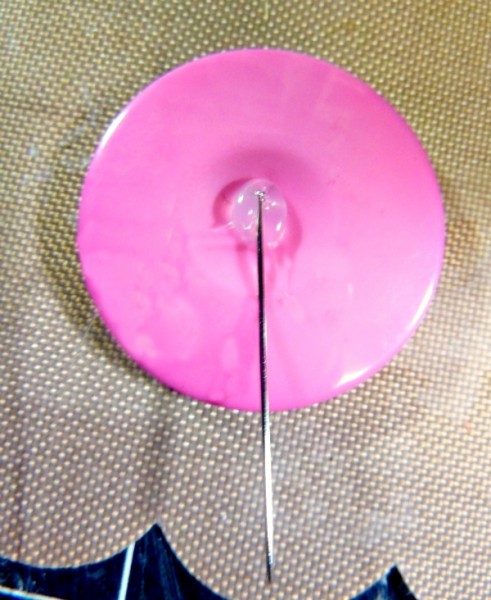
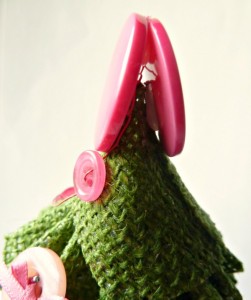
With all of the other buttons, I threaded ribbon through the holes and used a pin through the ribbon on the back of the button to attach it to the burlap. Attaching things with straight pins means you can reuse your craft and deck it out with new goodies for another holiday or celebration! I did “glue” the two buttons at the top of the topiary together.
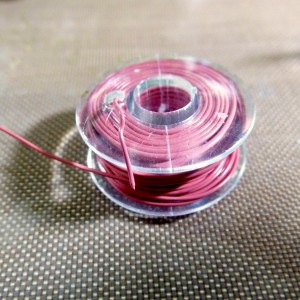
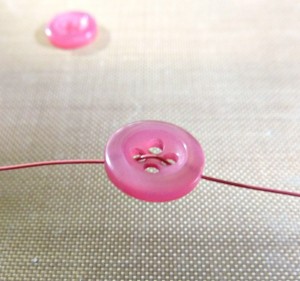
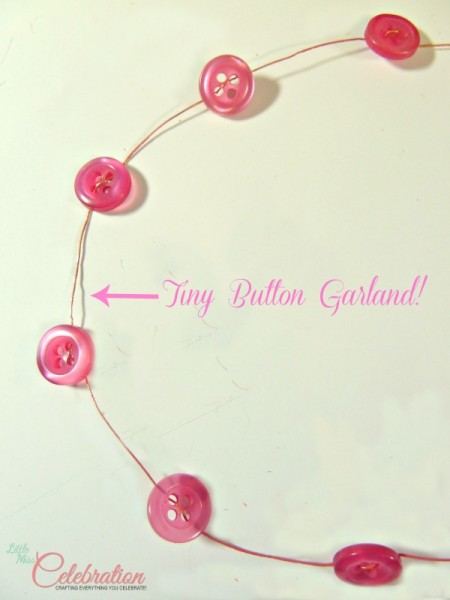
This burlap evergreen needed a Spring garland….so I made a tiny button garland. I used thin pink wire, threaded it through tiny pink buttons and voila! A button garland to bedeck the tree. The wire makes it so easy, because once the wire is threaded through the buttons, the buttons totally stay in place!
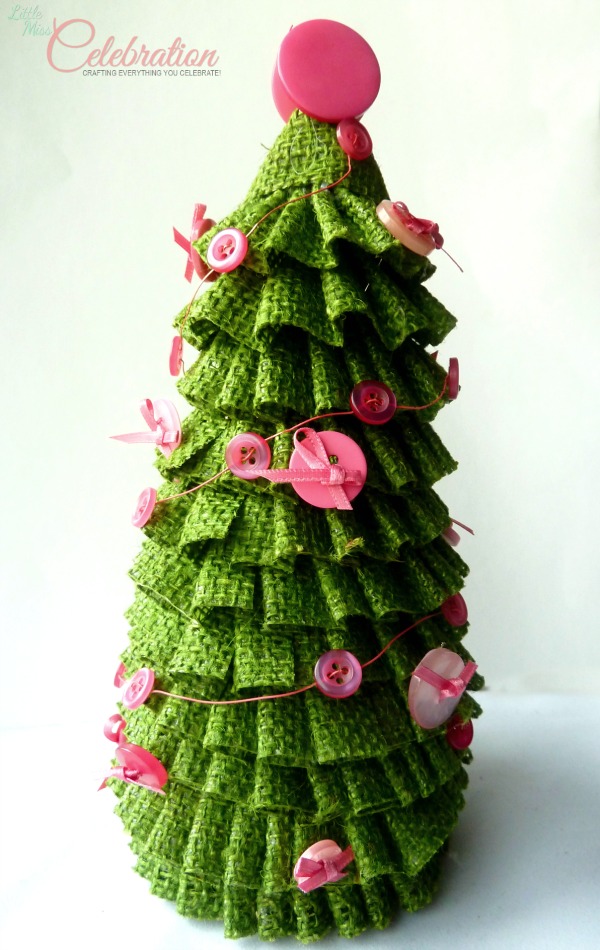
What do you think? I am thrilled with how this turned out and I want to make a forest full of them for Christmas. I hope the burlap ribbon holds out….I have to find some more! You could make this topiary with any kind of ribbon by using the same pleating and pinning technique. Try one!
Thanks for stopping by and hope your week is off to a great start. Think it will actually start to feel like Spring soon? Fingers crossed!
Linking this project up at:






So cute! I love that burlap ribbon girl!
Thanks, Danni – I am definitely loving this ribbon, too, and don’t want it to run out! Thanks for visiting, as always!
Little Miss Celebration ~ you have a talent for making pretty little trees! Thank you so much for sharing your talent at Project Inspire{d}.
Have a great week.
Hugs,
Mary Beth
Thanks, Mary Beth – big thanks to you for hosting the party, it’s always fun!
I love this!! I have a few styrofoam cones that I never got around to decorating for Christmas. I’m thinking I’ll dig them out and maybe my son and I can each make a spring/Easter tree! Thanks for the inspiration!
Thanks, Ann, it’s fun making these Styrofoam trees and the children would probably really enjoy making their own little forest with pompoms, pipe cleaners and other things for little hands.
So cute! I love that you made the decorations easy to remove!
thank you too for the comment earlier! =)
Hi Holly! Thank you so much and it was so sweet of you to visit!
This is absolutely adorable! I think it could make a great craft for other times of the year as well! I LOVE the button garland you created! Thanks for stopping by thehappyhousie.com earlier:)
Krista
Hi Krista, thank you SO much and it was really sweet of you to stop by! I’m definitely going to redecorate this little tree for other times of the year. Have a good Thursday!
Oh my! This is SO pretty and so perfect for spring!
Happy to have found you through the “Wildly Original Link Party”!
Thank-you for sharing!
Lisa H.
Hi Lisa, thank you so much for your kind comment and for stopping by from Christina’s party! Looking forward to visiting you and so glad we connected. Have a great Thursday!
This is adorable! Love it!! XO
Thank you so much for your visit and sweet comment! Have a great Sunday evening!
This is so cute, what a great idea! I’m a new follower via I Gotta Create. Have a great day!
Melanie
http://violetsbuds.blogspot.com/
Hi Melanie – thank you so much for your visit, follow and kind comment! So great to meet you and hope you have a great evening!
I love this idea! It has a touch of whimsy with the topper too! Thanks for visiting & sharing @ Inspiration Spotlight @ DearCreatives.com Hope to see you again this week. Have a happy Easter btw!
Happy Easter to you, too and you are so sweet to visit and comment. Thank you!!!
This is such a cute idea. I’m so happy we have met Cindy!
Julie, thank you so much and it is really sweet of you to leave a comment for me. So happy we have met too, and really looking forward to getting to know you. Have a wonderful Easter day!