
Bring some sparkle and glow to your summer entertaining with Foam Flower Tea Light Holders! FloraCraft® Make It: Fun® Foam Balls are carved into petals with centers that hold tea lights. Tiny glass seed beads and Stickles add shine and sparkle. Set the flowers in Mason jar lids or on glasses to bring a soft glow to a warm summer evening!
Foam is such a fun, versatile product to create with, and today we’re creating with FloraCraft® Make It: Fun® Foam balls! FloraCraft provided some great products for me to use and as soon as I saw the fantastic tools, I was immediately inspired to cut up the foam balls and create some flowers that were both pretty AND functional. With the arrival of warm, summer evenings, we’re spending a lot more time outdoors, eating meals, entertaining and relaxing. Whether we use them outdoors or inside, these bright tea light holders bring a pretty touch to summer décor.
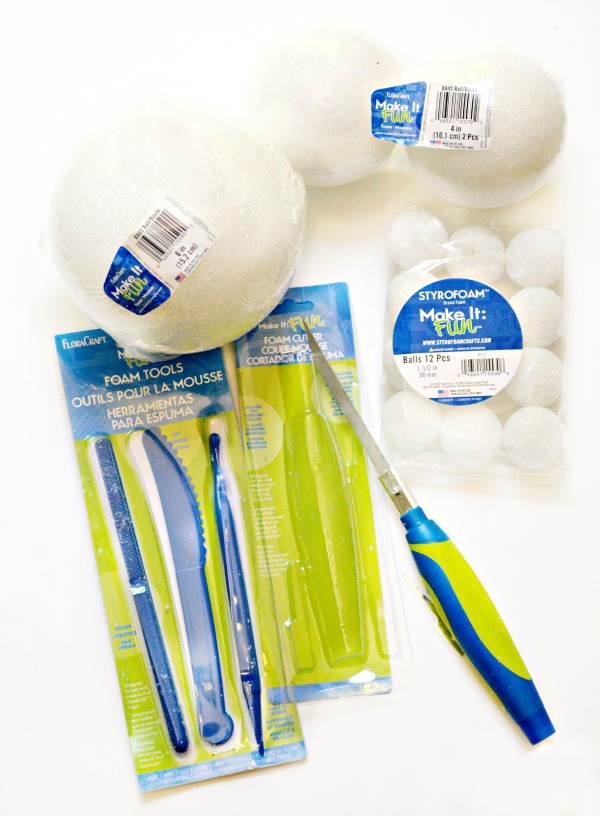
I used the following products to create the flower tea light holders:
- FloraCraft® Make It: Fun® Foam Balls – 5”, 4”, 3” and 2” balls
- FloraCraft® Make It: Fun® Foam Tools
- FloraCraft® Make It: Fun® Foam Cutter
- StyroGlue and small, old paintbrush
- Toothpicks and scissors
- Glass seed beads – I used black and white
- Stickles Glitter Glue – I used yellow, purple, crystal and tropical tangerine
- Battery-operated tea lights
I can’t even tell you how exited I am with the Foam Cutter and Tools, which make carving and shaping foam a total breeze! I worked on a cutting mat covered with newspaper to make clean-up easy. Using the foam cutter, I cut about 1/3 from the top of one 5” and two 4” foam balls. The shape of the bottom of the tea light was traced onto the center of 4” ball; the area was cut and smoothed with the foam tools. Areas for two tea lights were added to the 5” ball.
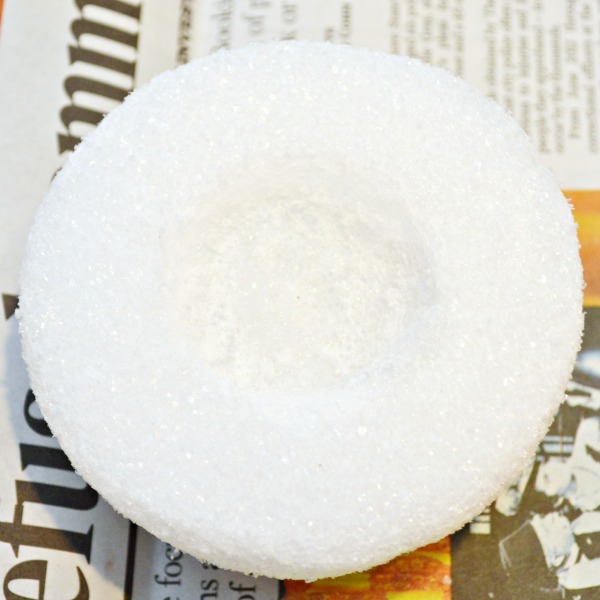
The tea light sits perfectly in the center of the ball!
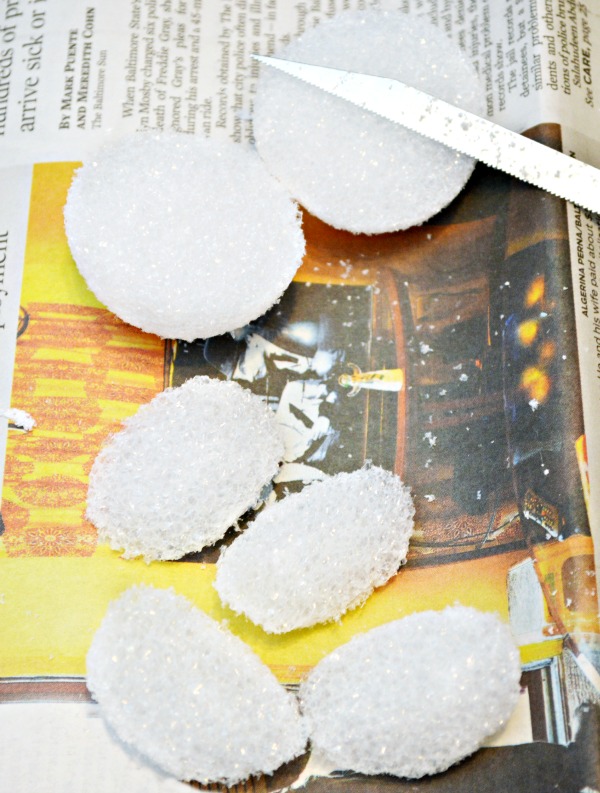
Now, to make the flower petals! Petals for the 5” flower were made using 3” foam balls and 2” foam balls created petals for the 4” flower. The foam cutter was used to cut each foam ball in half, and each half was cut into halves. Using the sanding tool, I slightly sanded each foam piece into a petal shape.
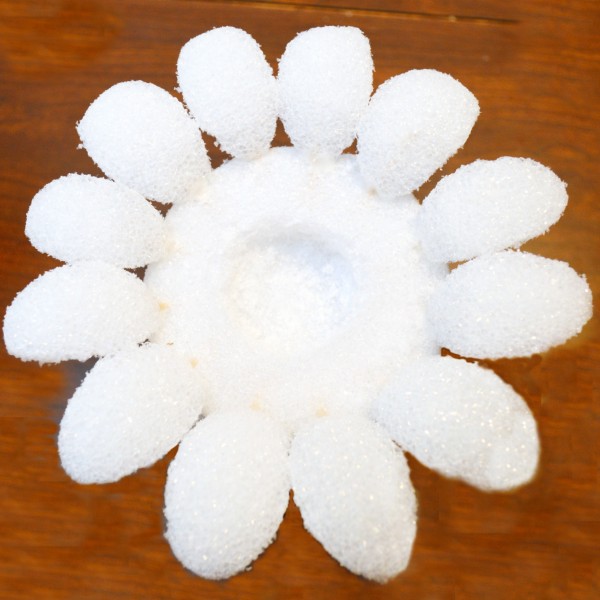
The foam “petals” were added to the entire perimeter of the foam flower center using toothpicks and StyroGlue. The toothpicks were clipped a bit with scissors so there were not too long. Add a bit of StyroGlue to each end of the toothpick; with the rounded side of the foam petal facing up, insert one of the toothpick into the end of the petal and the other into the top outer-edge of the larger foam ball. Continue adding petals until the “flower” is completely formed. Let dry overnight.
Seed beads were added to the entire bottom and carved top of the large foam ball. I used a small, old paintbrush to add glue in small sections and pressed the beads into the glue. There WILL be flying beads! ? Work over a paper plate to catch them. It’s easy to add color and sparkle to the petals with Stickles Glitter Glue! Simply squeeze the glue onto the petals and spread across the surface of the foam with the side of toothpick. Some of the glue will absorb into the foam and I think this gives the petals a nice, textural look. Use any color combination of beads and glitter glue that you like! I used yellow with black beads for a sunflower look, purple with black beads and gave the large flower a tropical look, with white beads, crystal Stickles on the top of the petals and tangerine on the bottom.
Add tea lights to centers of the flowers and place them on Mason jar lids or set them on glasses. I love how colorful and fun these are! We’re hoping to spruce up our patio over the next few weeks and I can’t wait to add these pretty foam flower tea light holders.
You can find lots of great projects, ideas and inspiration for foam projects at makeitfuncrafts.com! How do you like these tea light holders? What colors would use for your flowers?
Thanks so much for visiting!
Sharing at these parties!
Creative Collection Link Party at Blooming Homestead Link Party Palooza at i heart naptime DIY Sunday Showcase at PinkWhen




This is so clever, and colorful. What a fun idea to create a little flower “nest” for your tea lights. The sparkle will be so pretty on a summer day. Thank you.
Seriously, I could never think to do something like this – but you make it look so easy! I can imagine these foam flwers in all sorts of colors!