
If you love roses and pink, you’ll love this big, happy Rosy Summer Door Rosette! Perfect for a covered front door or wall and easy to make! Fan-folded paper & cardstock create a tri-level rosette pinned to a Styrofoam disk. A circle of pink silk rosebuds creates a rose garden that will bloom all summer and no pruning required!
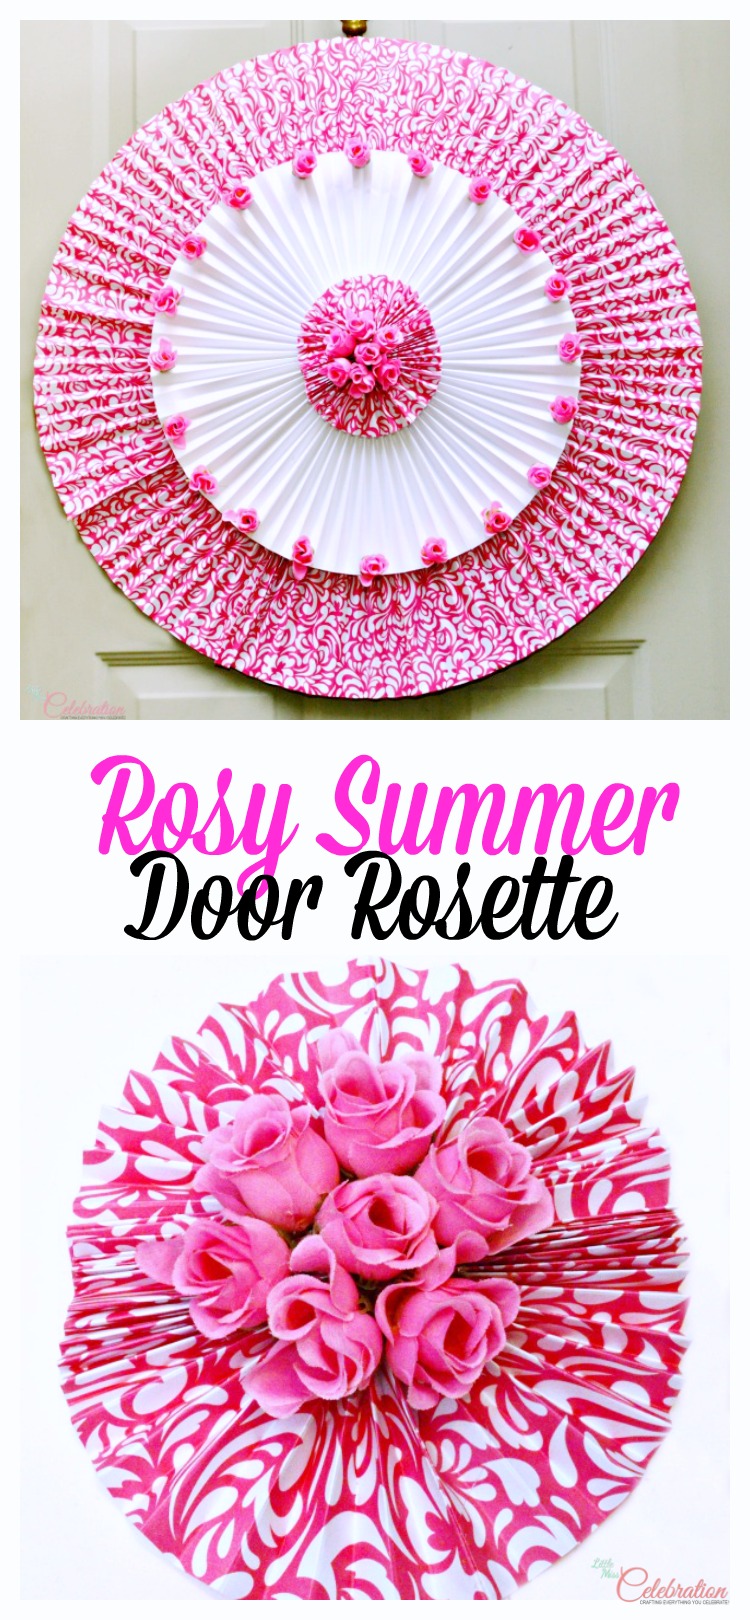
I think it’s safe to say I have a bit of an addiction to making things for my front door! ? Yep, I wanted something new for the rest of the summer and actually thought I could sneak this one in without a certain someone noticing. Well, that idea flew out the window in a hurry! It’s kind of tough to hide a rosette that’s 28” across!
The Recollections brand at Michaels has all of these rolls of pretty, patterned paper, some of which are handmade. I immediately fell in love with this bright pink and white pattern and decided I wanted it on my front door for summer.
One roll is more than enough to make this rosette with plenty to spare! This is really three rosettes, layered on top of one another and attached with long, straight pins to a 15/16” Styrofoam disk.
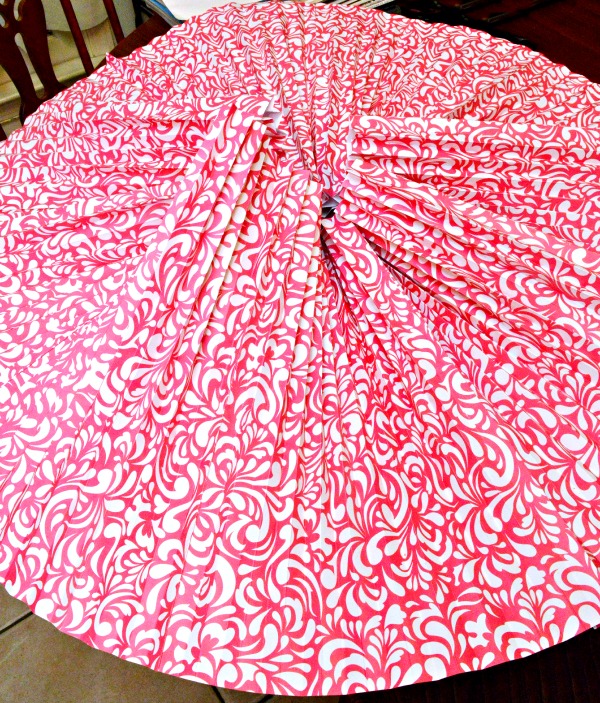
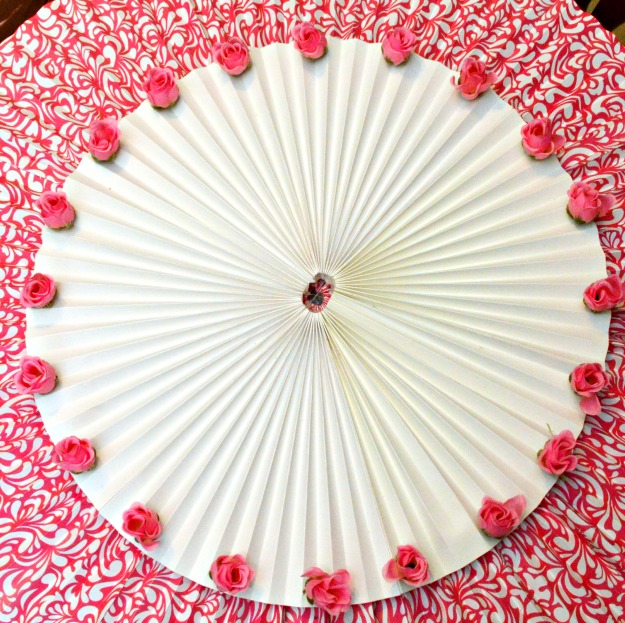
First, I cut nine 12” x 14” pieces of the pink and white paper. Each piece was scored on my scoring board and fan folded. The paper is a bit more delicate than working with cardstock, so it helps to be gentle. Fan-fold each piece along the scored lines and using craft glue, glue each piece together along the 14” length until you have one big circle. It was tough to take a photo of the entire circle on my kitchen table, but hopefully you get the idea!
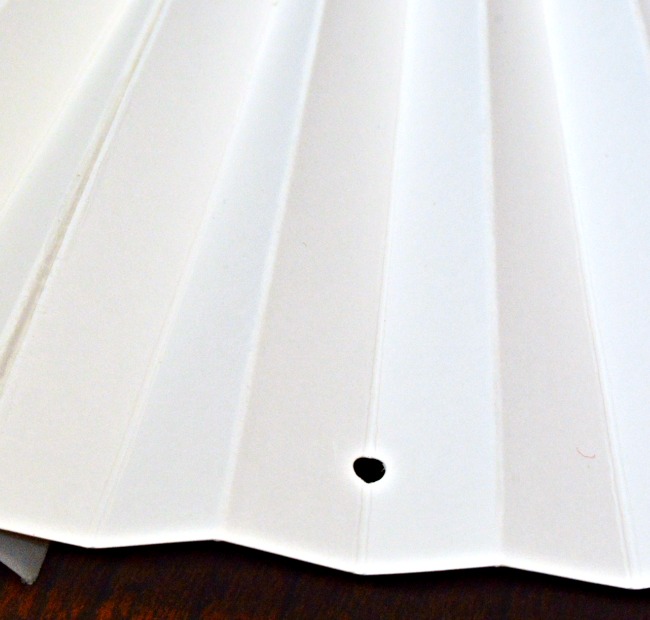
For the second level rosette, I scored and fan-folded six pieces of 8 ½” x 11” white cardstock and glued each piece together along the 11th length. I had a bunch of pink, silk rosebuds which I had bought at Michaels earlier this year and wanted to add them to the rosette. With a hole punch, I punched a hole about 1” down from the edge of the white rosette in the “valley” of the fan-fold, and repeated the punching every three folds, for a total of 20 punched holes.
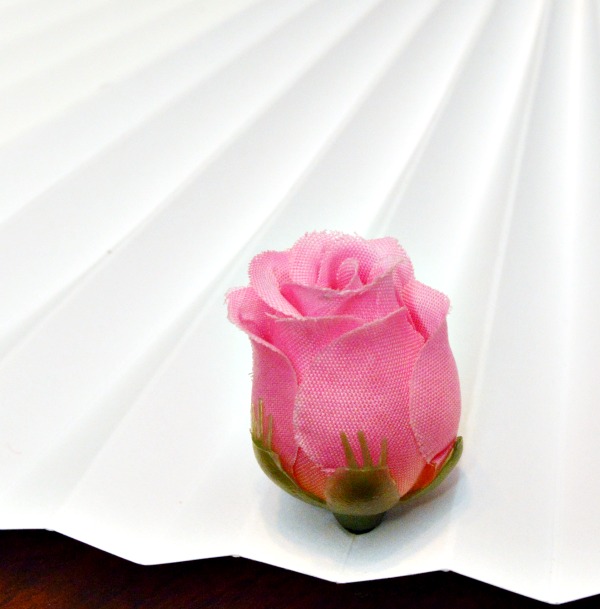
The rosebud, trimmed from the stem, fit perfectly in the hole. I added a bit of hot glue to secure it.
The large pink and white rosette was attached to the foam disk with long, straight pins and the white, rosebud circled rosette was layered on top and secured with low-temp, hot glue.
For the center rosette, I wanted a bit of an oval. It’s not a perfect oval, but its close! Two pieces of the pink and white paper were cut into 6” x 14” pieces and the long edge was cut on a curve. The pieces were scored, fan-folded, and folded in half. Each half was glued together and the then the two halves were glued together. Seven pink rosebuds were added to center – when it was finished, it looked like this!

The small rosette was layered on top of the white rosette and the three level, rosy summer door rosette was finished! Well, almost! I add a piece of wire for hanging, sticking the bottom into the foam disk and securing with glue.
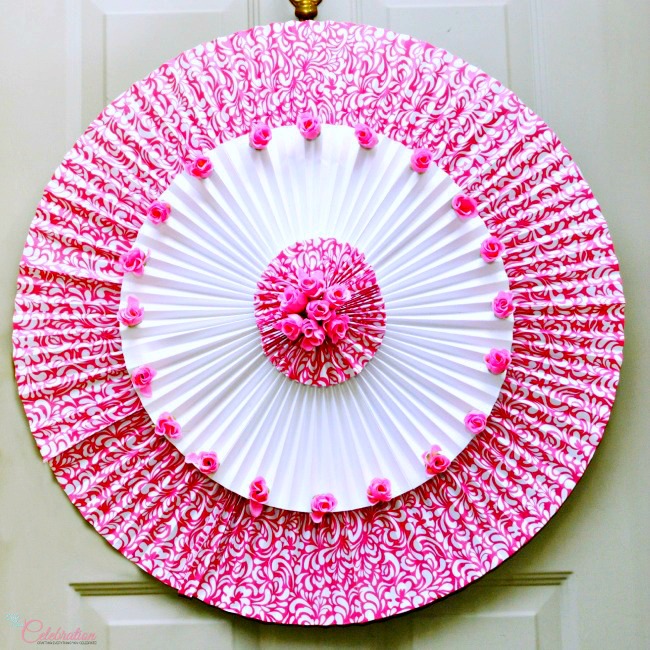
It’s big, pink, rosy and I love it! This will be on the door until fall and I know it will make me smile when I come home at the end of each day. ? What do you think?
Thanks so much for stopping by and have a rosy summer day!
Sharing at these parties!
Whimsy Wednesdays at The NY Melrose Family Think and Make Thursday at Kenarry: Ideas for the Home Creativity Unleashed at Shaken Together Freedom Fridays at Love Bakes Good Cakes Link Part Palooza at i heart naptime Best DIY & Recipes Party at The 36th Avenue






What a bright and cheerful way to be welcomed home! I really need to do something with our front door – this looks easy enough!