
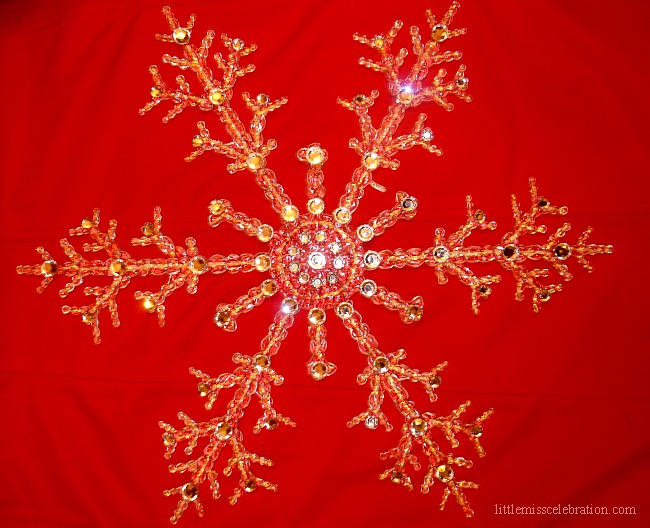
 Today, we’re continuing with the Dollar Store holiday remakes! If you love bling, sparkle and a dose of glamour, this easy, fast and totally inexpensive project is definitely for you!
Here’s what we need:
- Dollar Store large, dimensional plastic snowflake (I went with the plain one; they also sell one with frosted tips. You choose!)
- Rhinestones, 12mm and 7mm
- Gem Tac
- Crystal Stickles (optional)
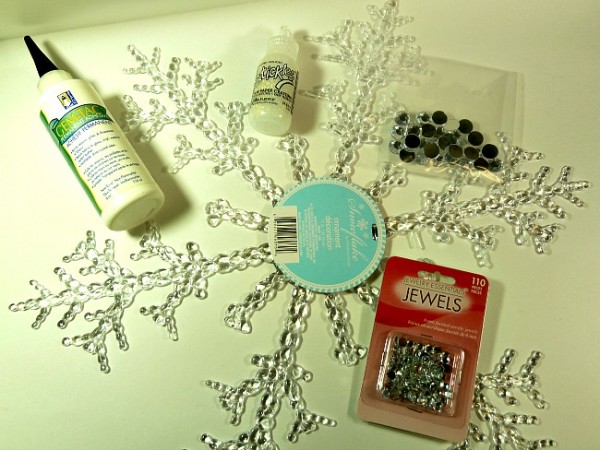
Snowflake supplies
You’ll also want a pair of tweezers; the Tweezer Bee craft tweezers made the whole glue process fast!
You can approach this any way you want! I used the large, 12mm rhinestones in a circular pattern on the center of the snowflake.
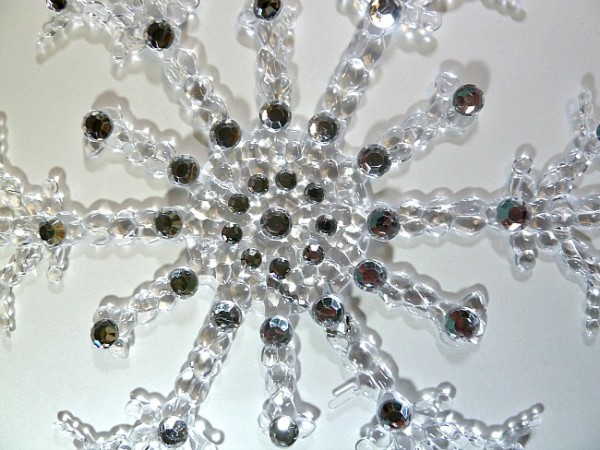
Snowflake center pattern
I used a few of the same sized rhinestones up each “leg” of the snowflake, then added the 7mm rhinestones to the tips.
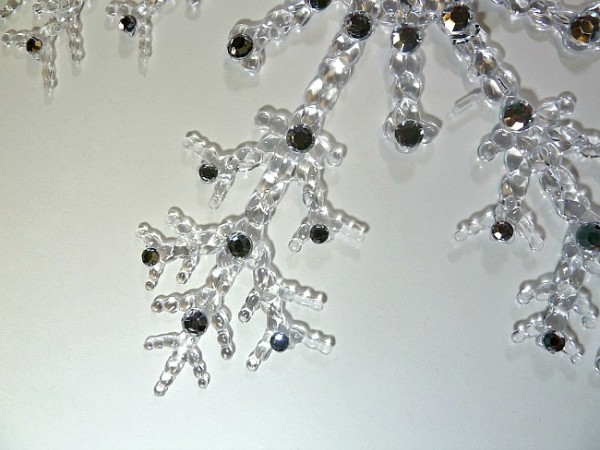
Snowflake spoke pattern
Once you get all of the rhinestones glued to the snowflake, (Gem Tac held perfectly!) let it dry for a couple of hours. I elected to draw lines with Crystal Stickles, starting from the center, up each part of the snowflake. You know, because it’s not sparkly enough!! <smiles> If you use Stickles, just remember that Stickles take a long time to dry!
Tada! That’s it – you are done!
I have to tell you, I simply am in LOVE with these! Who would think we could take a $1.00 plastic snowflake, a few dollars in supplies and wind up with something so stunning? It’s really hard to get a photo to do it justice; I tried a white background and that was not good! I used a red background and took a low-light photo to show you how it sparkles in dim lighting. If you have an area in the house that’s a bit dark and could use a little sparkle, trust me, this is perfect!
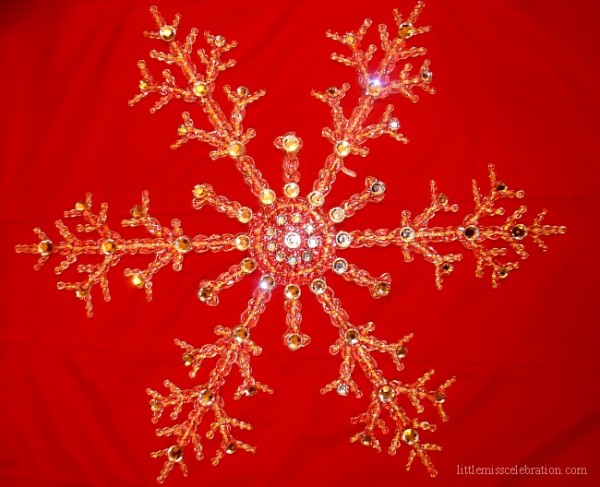
Finished Snowflake
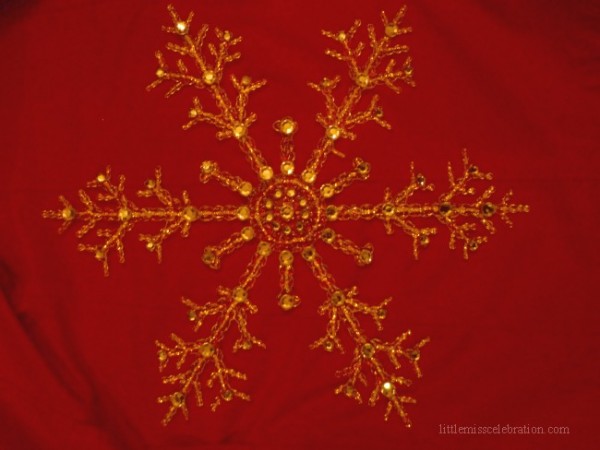
Snowflake in low light
Another plus? This is SO not just for Christmas! These blinged-out beauties can glam up our spaces right through the winter! I know, I DO have a thing for rhinestones, sparkle and glitter…well, diamond IS my birthstone, so maybe that has something to do with it? Truly, I think you make a couple of these, put them on the wall and it’s a lot pow for a little pocket punch! A tip to hang these (because there is no “hanger” attached), put a few straight pins in the wall! I use pins to hang all kinds of things and it is amazing how much weight they hold – use as many pins as you need. Don’t push them all the way in – they just kind of disappear because you focus on the lovely item instead!
What do you think of our Dollar store holiday remakes?



This looks awesome!!!
Thanks, Paula – I really appreciate it it! Make sure to let me know if you make one…or more!
This is pretty enough to frame!
Thanks, Roberta! What a great idea!